3D Camera for Quads
Hawkeye Thumb 4K (x2)
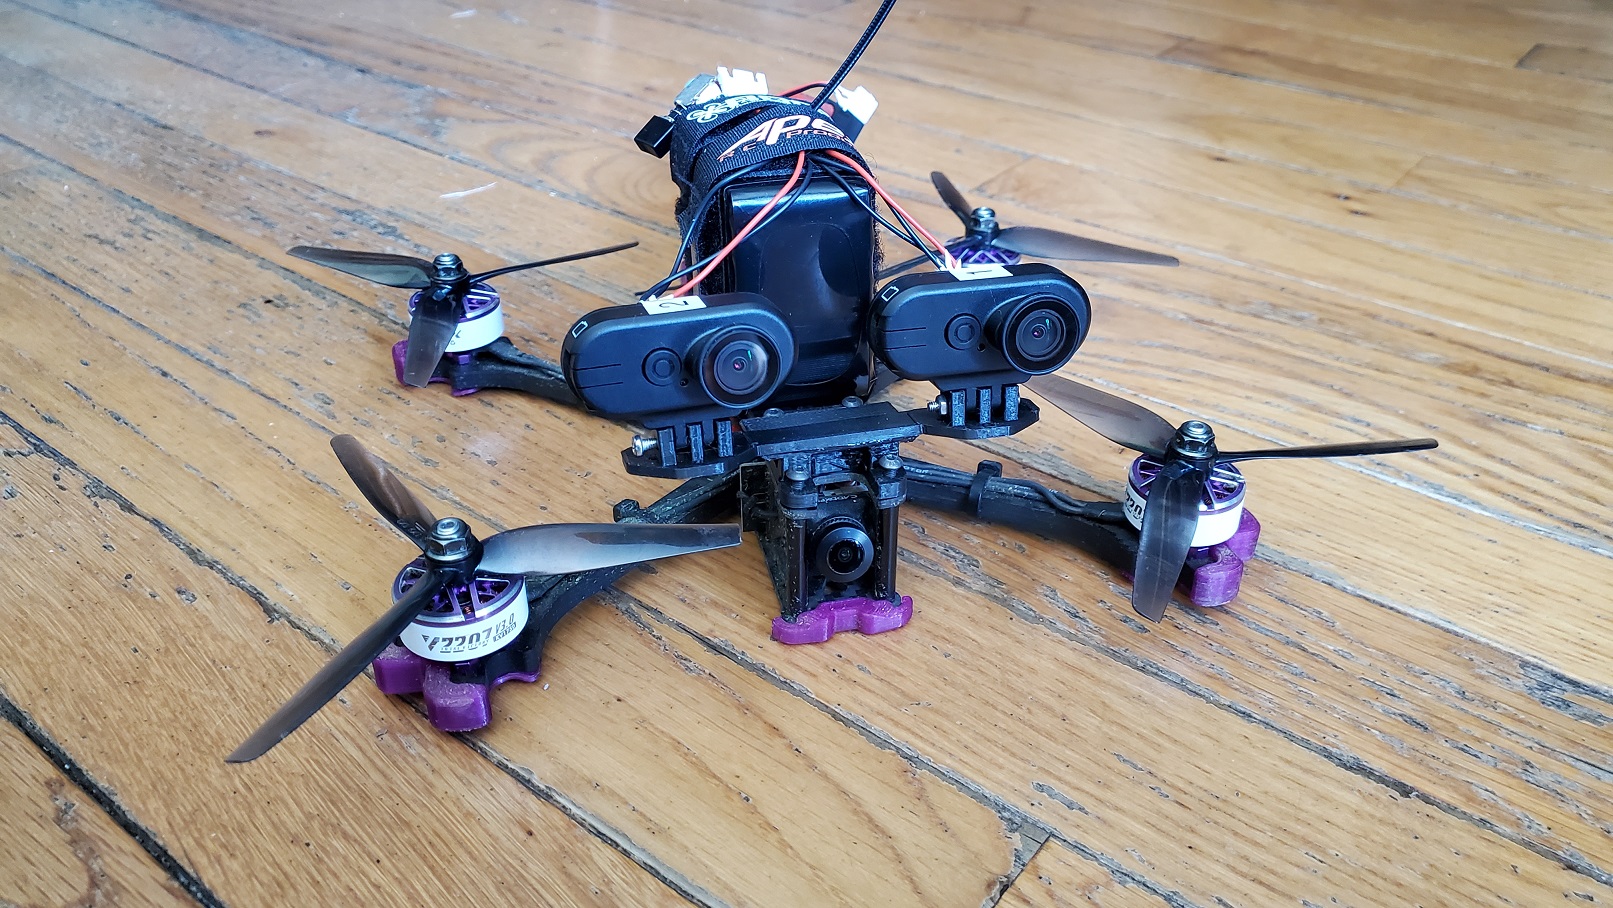
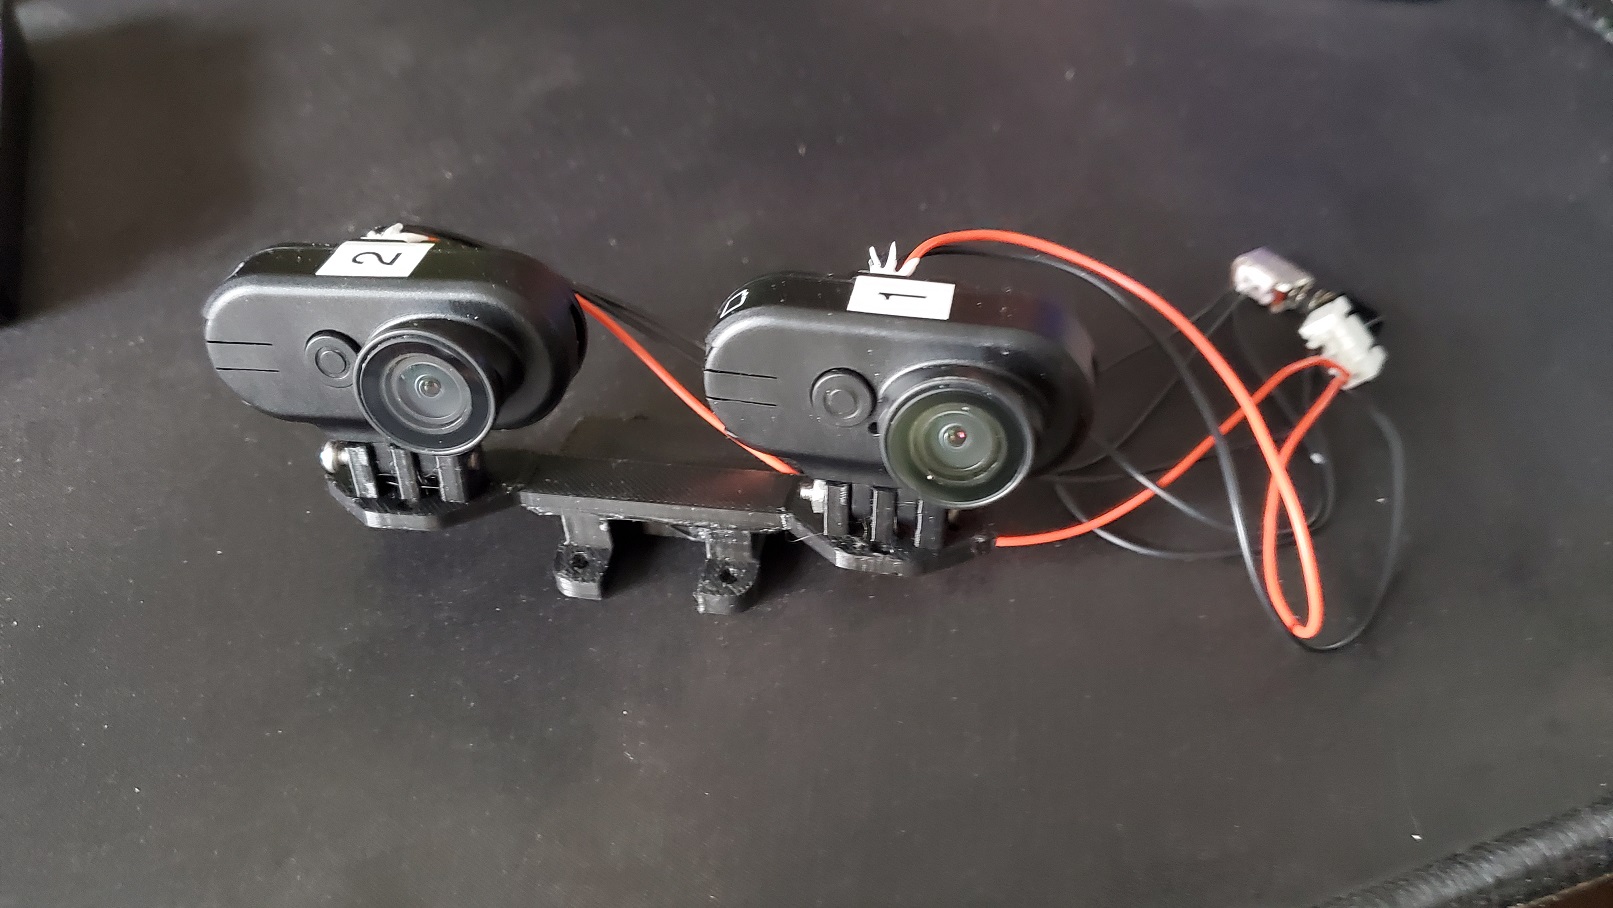
After using the Hawkeye Thumb 4K, I was pretty impressed with how something so small and light could provide great video that rivals a GoPro. I then got an idea: what if I used two of these side-by-side to record video in 3D? Basically you just need two videos taken at the same time, just with the cameras spaced horizontally away from each other to replicate human eyes. Seeing as I own a 3D TV, I really wanted to make this happen. So I purchased a second camera, and went to work in Blender to create a camera mount for both cameras. I pretty much just made a best guess as to how far apart to make them, and tried to have them both point at the same point in space an infinite distance away.
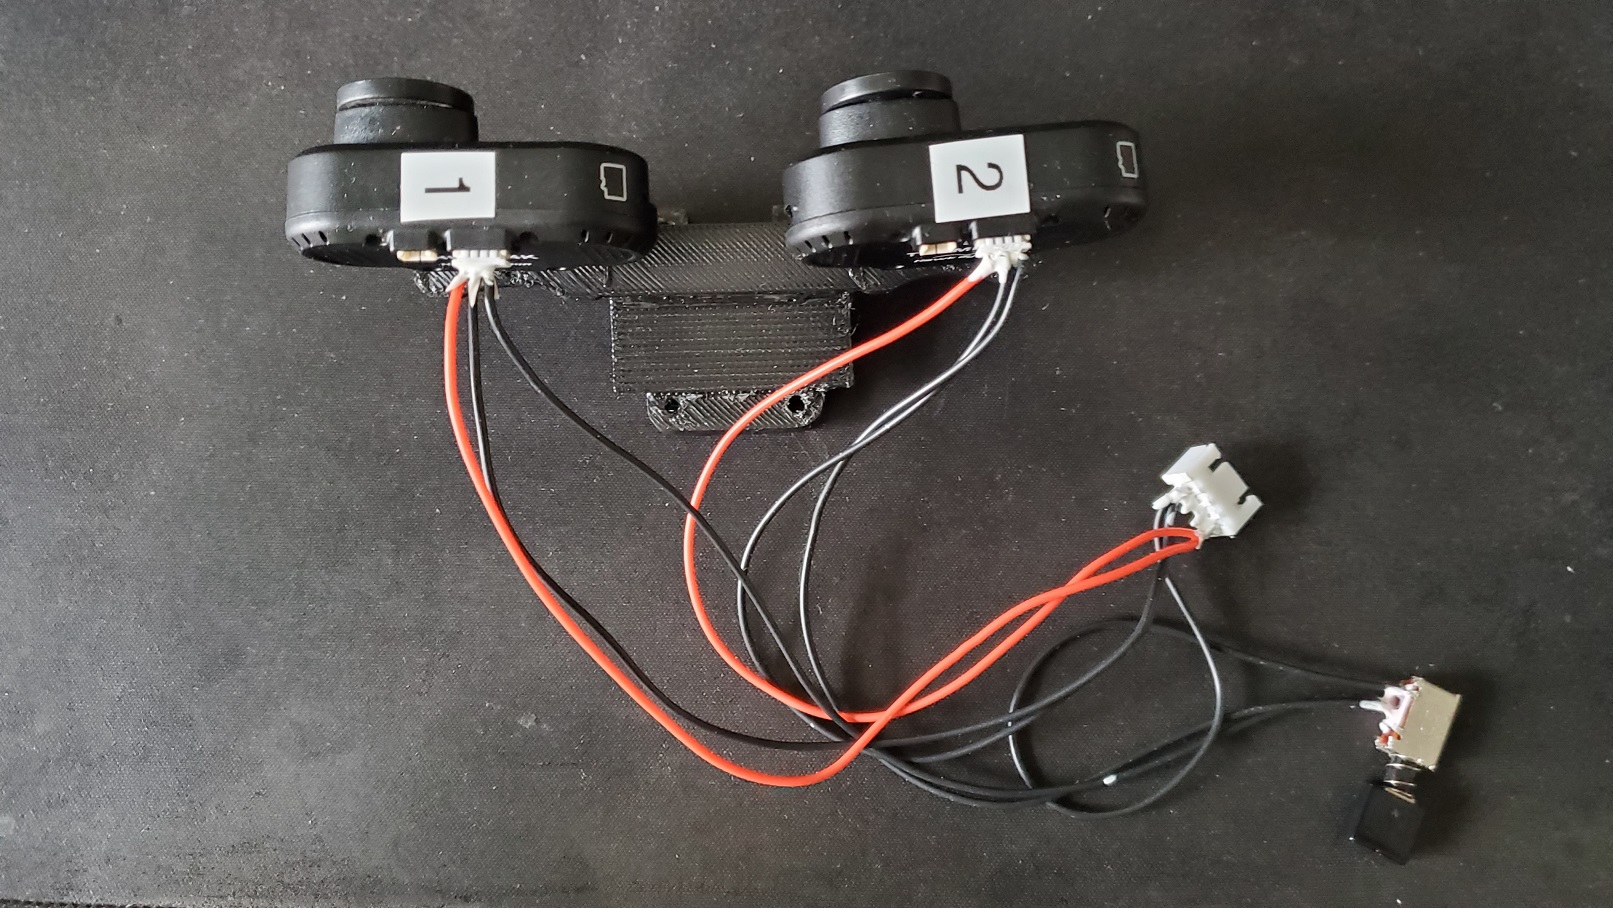
My next concern was how I was going to line the videos up on a video editing timeline so that the recordings are perfectly in sync with each other. I was thinking initially I could do something like clap my hands or something very quick at the start of the video to do that, but then had a better idea - what if I could just start (and stop) both cameras at exactly the same time? This would be much better and easier as far as editing, and I thought when reading the manual there was something about a video trigger. Sure enough, there was, you just need to pull that pin to ground. So I created a makeshift wiring harness that both powers the cameras from a 6s battery as well as pulls the video trigger of both cameras to ground with a single switch. In my first test, I used a momentary button, just like the one that is used on the front of the camera to start and stop recording. However, the video trigger did not work as I expected it would, mimicking the recording button. Instead, it would only record as long as the button was pressed down, and then stopped once the button was released. Not a huge problem, I just pulled a latching button out of some scrap and used that, however it would have been nice if it just worked like the normal camera button does.
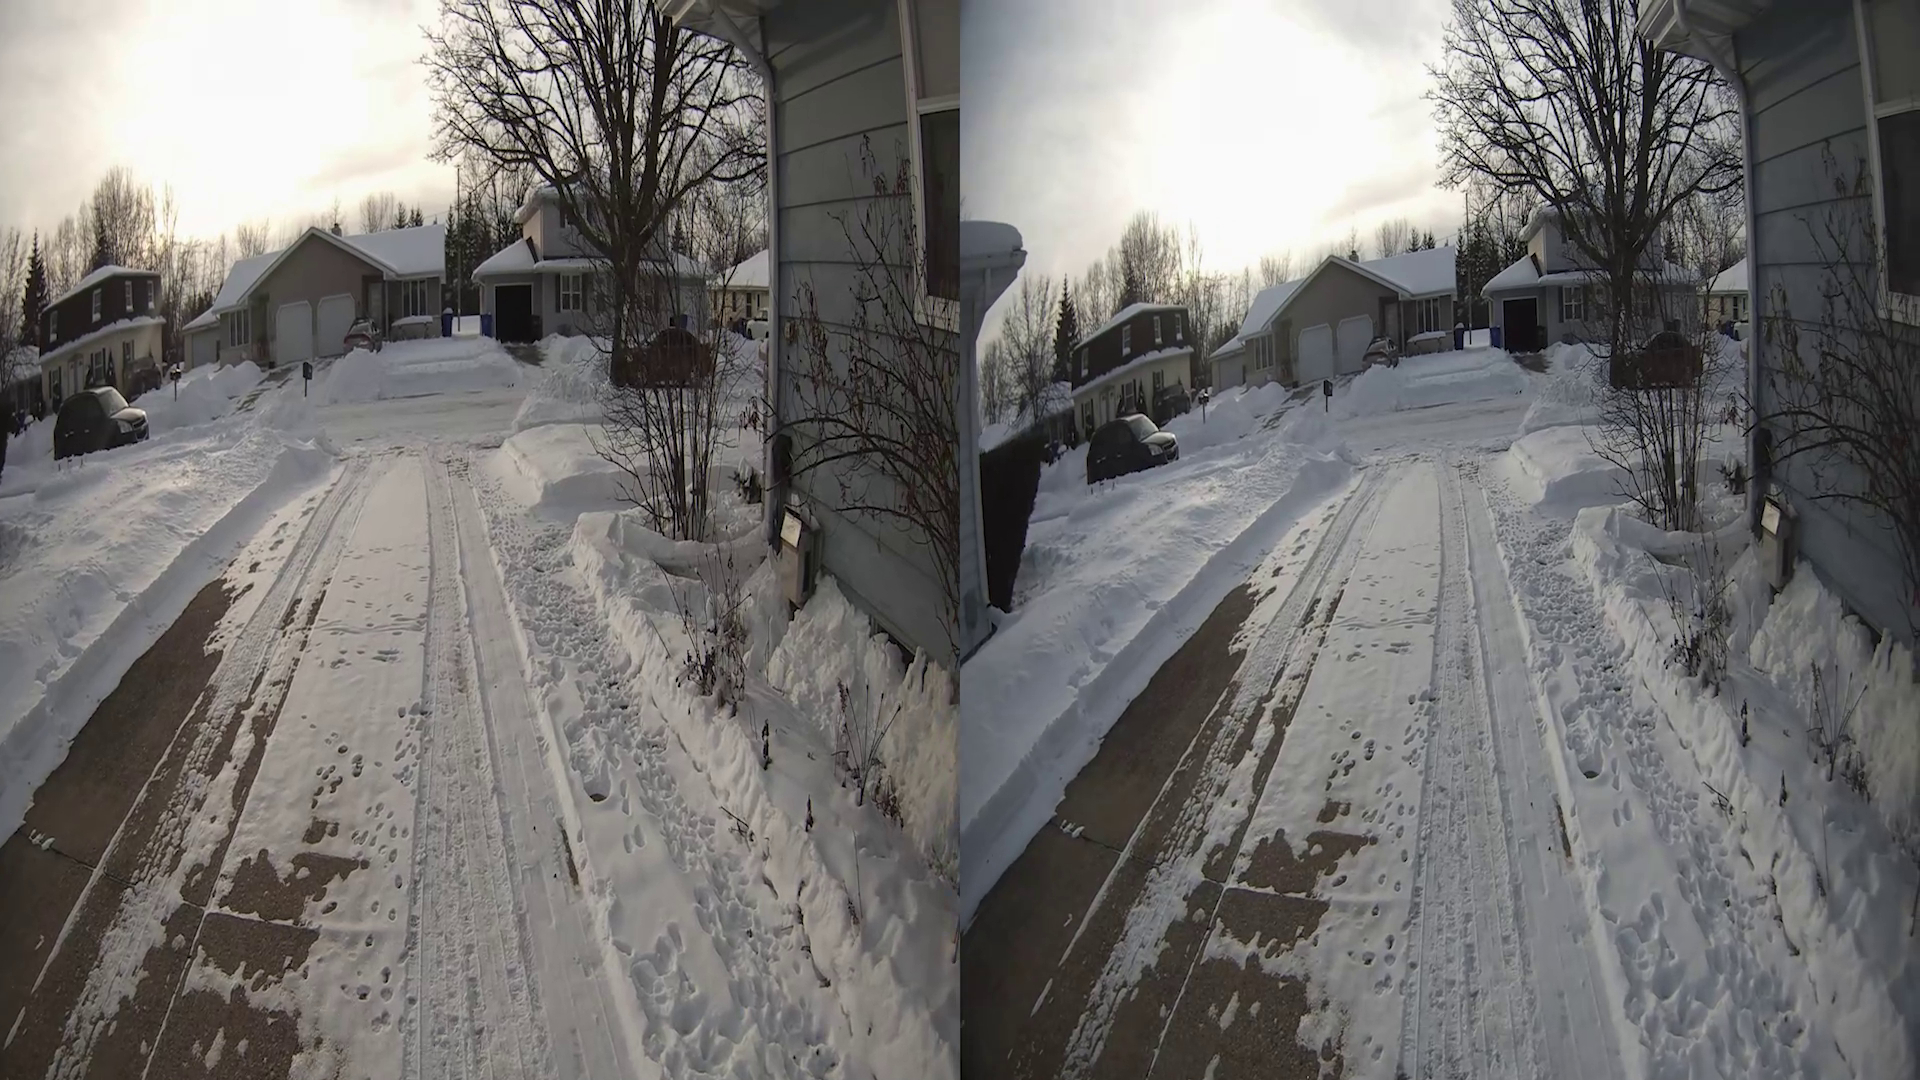 With that all worked out, the last piece was to take some test video and then see how much of a pain it would to edit it so that I'd have a left and right video side-by-side, the same format used in 3D TVs as well as VR goggles. Turns out with current video editing software, it's actually pretty easy, as well as making the sound in stereo, left camera for left ear, right camera for right ear. This is the first video, really short, but was just a test to see if it would actually work.
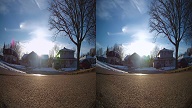 The only issue was that even though I had the settings for both cameras exactly the same, and they should be locking the white balance upon recording, the color temperature between the cameras was slightly different. Not a huge deal, can edit that as well in the editing software, but would have been nice to not have to worry about that as well. This was another short test video, this time mounted to the drone.
Interestingly enough, you can actually watch the video in 3D without any special TV or phone/VR goggles. You simply cross your eyes until the two images overlap, and concentrate on the combined middle image. Of course the image is squished by 50 percent, but you still can get a taste of the 3D effect, and it's much easier to watch than the stereogram images where you have to uncross your eyes quite a bit in order for the images to overlap completely.
Once the weather gets better and the outdoors become more scenic after the horrible phase between winter and spring (absolute worst time of the year in my opinion), I'll update this page with more videos.