RC Aircraft
Menards $7.99 Foam Jet RC Conversion - Prop
Intro
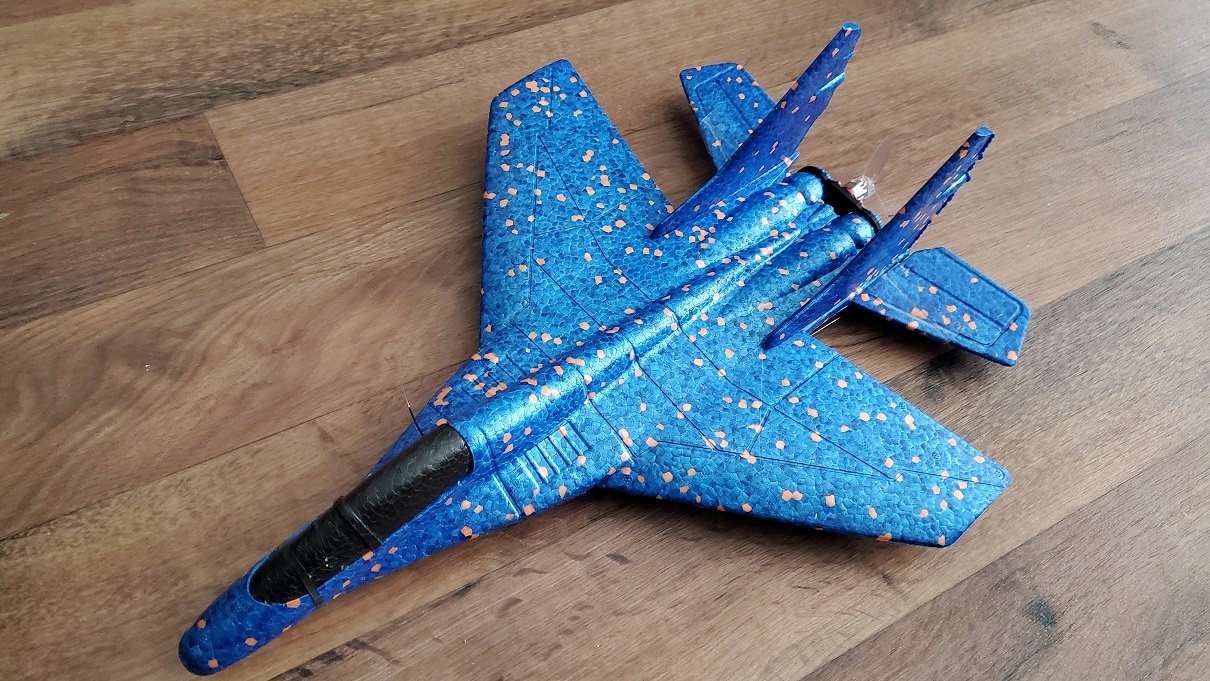
I was successful in converting the tiny (only 17 inches long) Menards Foam Jet to a micro RC plane with an EDF motor. After seeing an incredibly small motor/ESC/prop combo on Banggood for less than $20, I got the idea of trying the same conversion but with a prop instead to see if I could get more power and flying time.
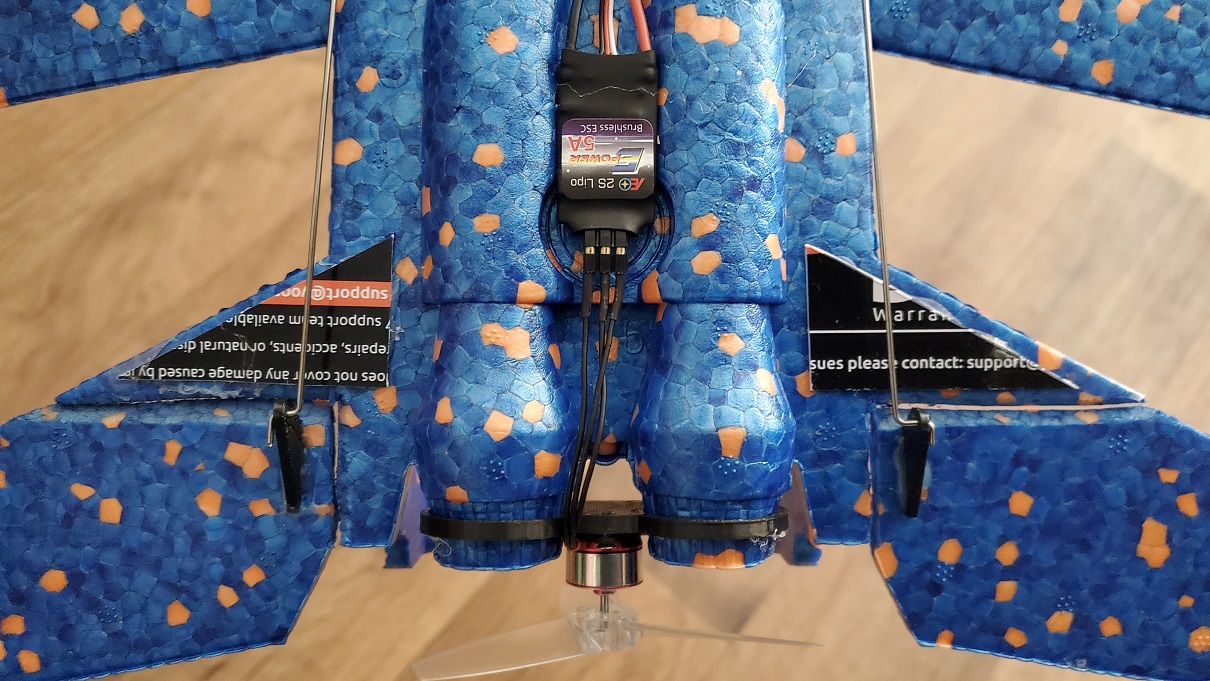
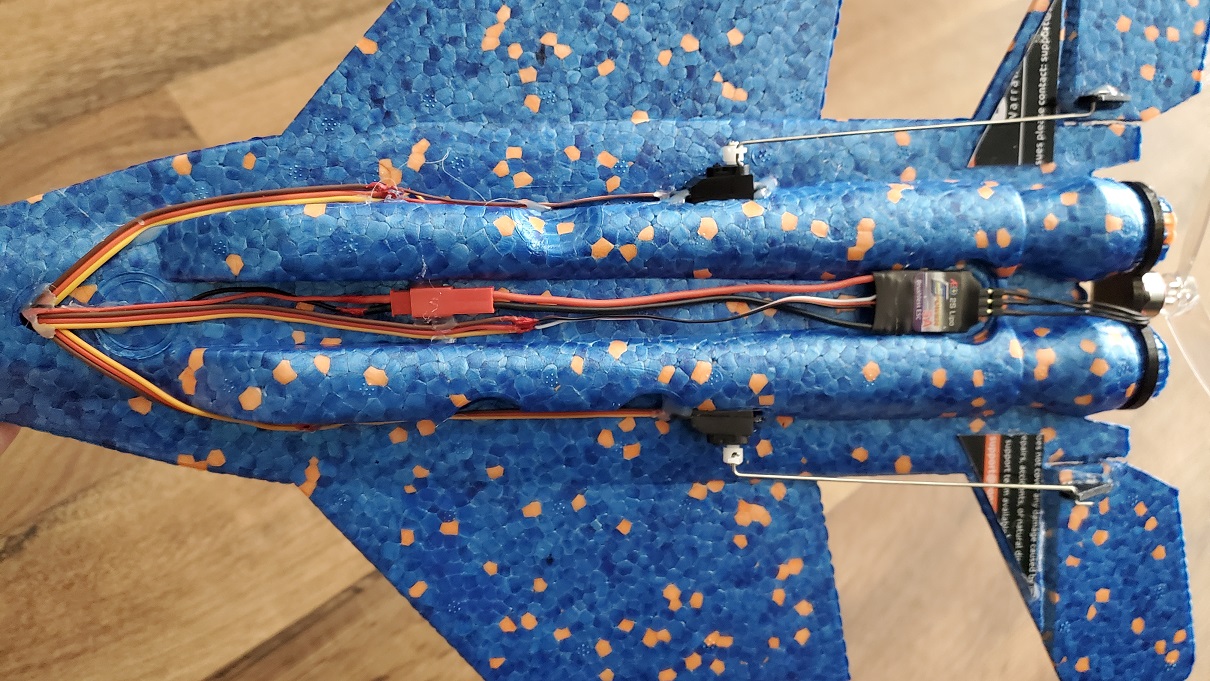
This uses the same foam jet from Menards, same 2g micro servos, mini receiver, and battery as the EDF version. I again marked the CG points underneath the wings, and I placed all the parts in their respective places on the plane with some masking tape to make sure I didn't have to add any extra weight to the tail or nose. I was able to determine it was better to extend the wires from the ESC to the receiver instead of the wires from the ESC to the motor to keep it balanced (as all things should be).
Motor Mount
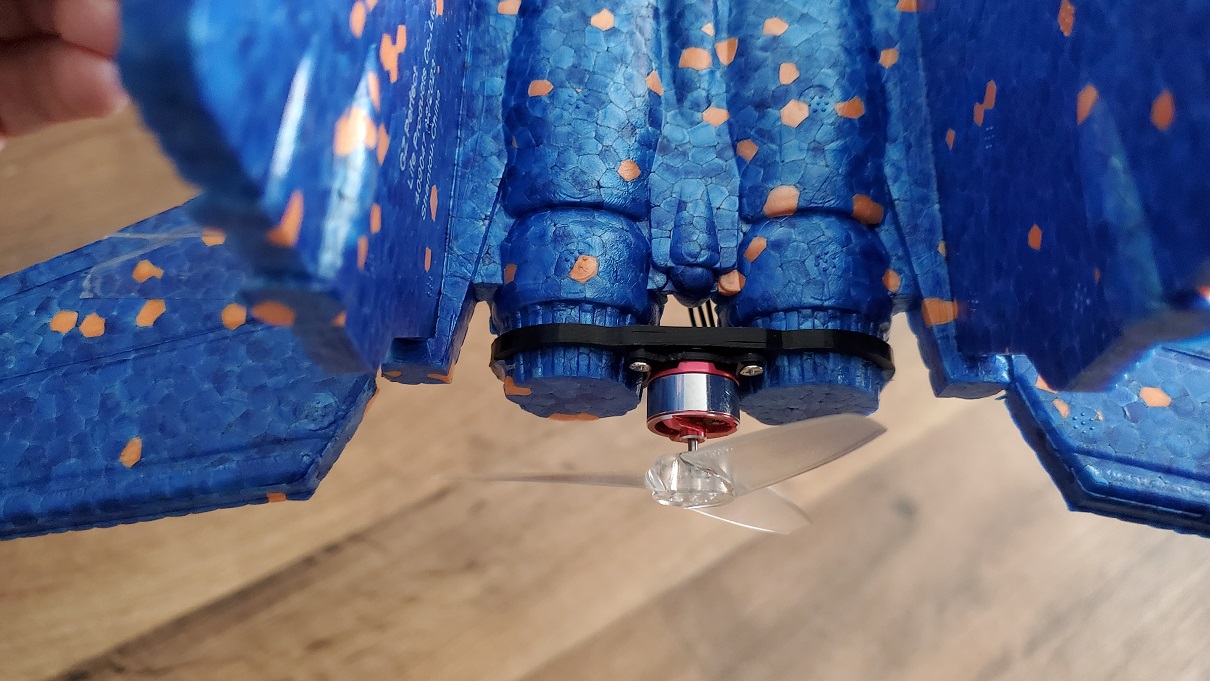
I created a motor mount that I could 3D print using Blender. The holes in the motor mount are a triangle instead of a square, which is incredibly odd. Also found out there's not a predifined object you can create in Blender that's an equilateral triangle, so I actually had to use a bit of math (holes are 16.27mm apart). Used M2x5 screws to secure the motor to the mount (longer will work as well), and a bit of hot glue to secure the mount to the fusalage. You can download the STL file here.
Propeller
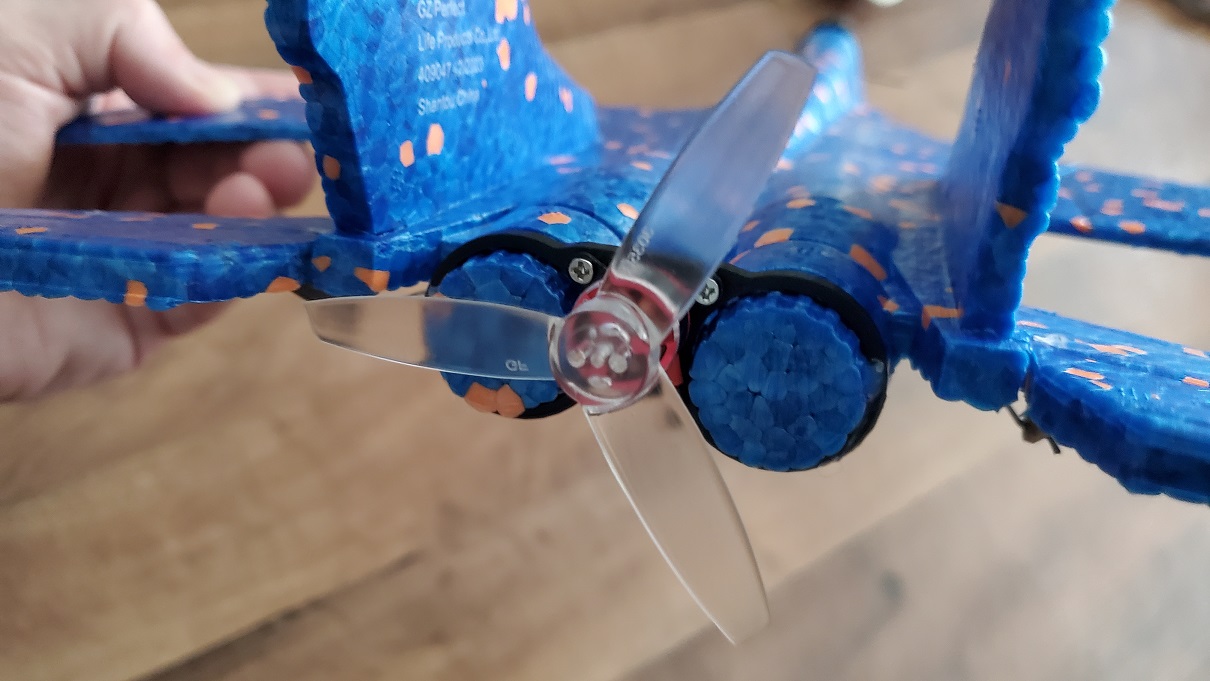
The prop and prop saver that it came with use a 4mm hole. However, the prop it came with is 5 inches but this is too big as it has to be at least under 4 to not damage the plane. The 3-inch props I have only have either 5mm holes or 1.5mm mounting holes, so the latter are necesary using a press fit on the shaft. Using a prop saver would have been the better option since the shaft is so thin, as it will probably be easily bent upon a particularly bad landing.
Other Changes
I was not happy with the little bit of foam left on the frame that was used to hold the elevons as they were small and a bit too flexible. I fixed that (as well as on the original) by hot gluing some pieces of credit-card like plastic to strengthen them.
Hinge tape was used on the elevons instead of hot glue, much easier and nicer. 3M makes an awesome surgical tape that is very flexible, thin, and sticky.
For the servos, I recessed them in the fusalage this time instead of in the wing. Benefit was that there was less chance of cutting through the entire wing this way like I did in the previous version. However, I realized that the control horns now stick down and will drag if landing with too much speed, which probably isn't good. Not really an issue since you can plop-land it quite easily. However, if I were to do it again, I'd probably do it the original way.
This time I just carefully bent the control rods to the correct lengths so that I didn't have to add the control horn connector (though they weigh practically nothing).
Didn't bother with velcro on the canopy since it was rather weak using such a small amount. Used a rubber band instead.
 The maiden was a total success. The prop version gives more power and flight time - over eight minutes. I can actuall do loops with it now versus the EDF version, which has just enough power to get off the ground and a little more. However, when you think about the size of the propeller, the EDF one is only like an inch, which is pretty impressive. I do like the sound of the EDF version better of course. This one is a bit more fun however, so I'll most likely fly this one a bit more. I'll probably add some LED's in the future since this would be fun to fly at night seeing that it's so quiet.

