RC Aircraft
Airwing Glider LED Modification
This glider is "my baby" so to speak. Got it seven years ago, put it together, and promptly crashed it right after takeoff. Threw it in a box and left it for seven years. Fast forward to this year when I decided to try and build a drone, right before getting that done I decided I should finish this other thing I tried first years ago. Learned to fly it after multiple crashes and repairs. It probably didn't help being a beginner and choosing a rather large model and a small field to practice flying.
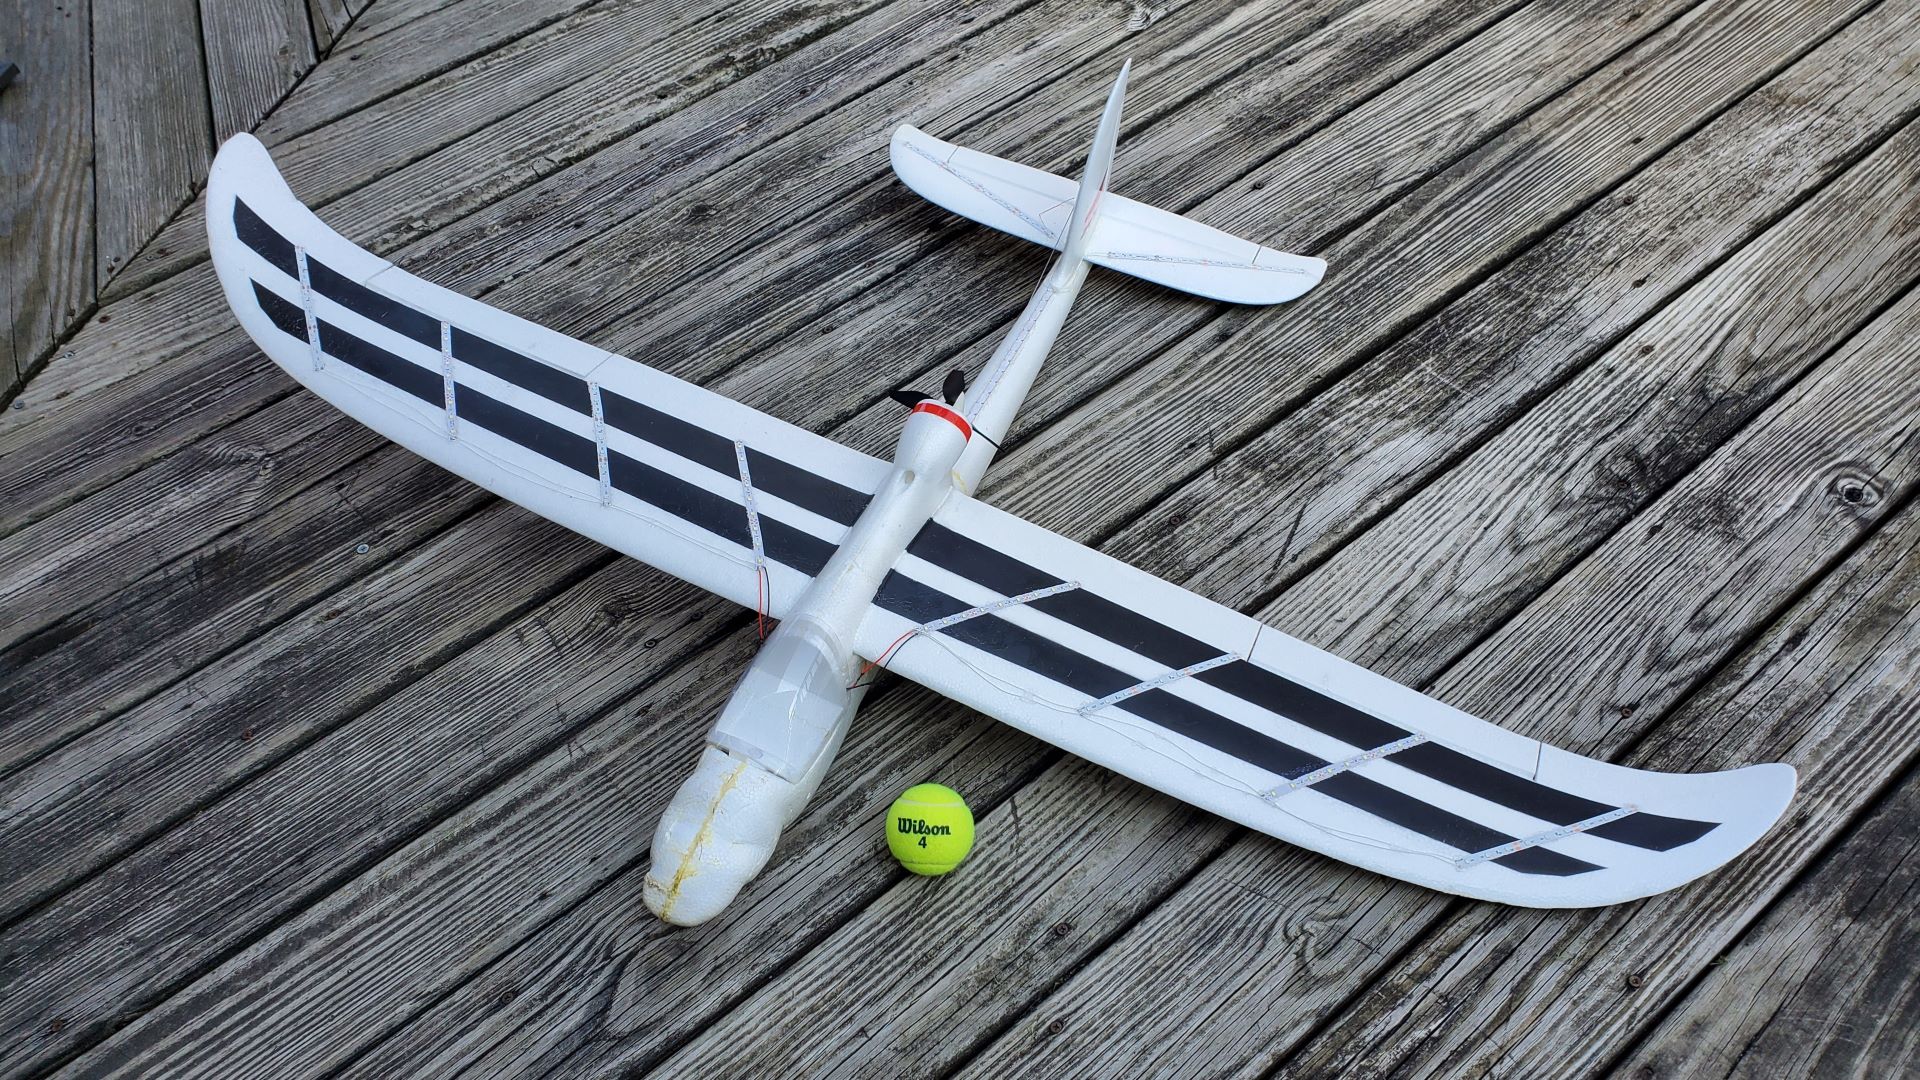
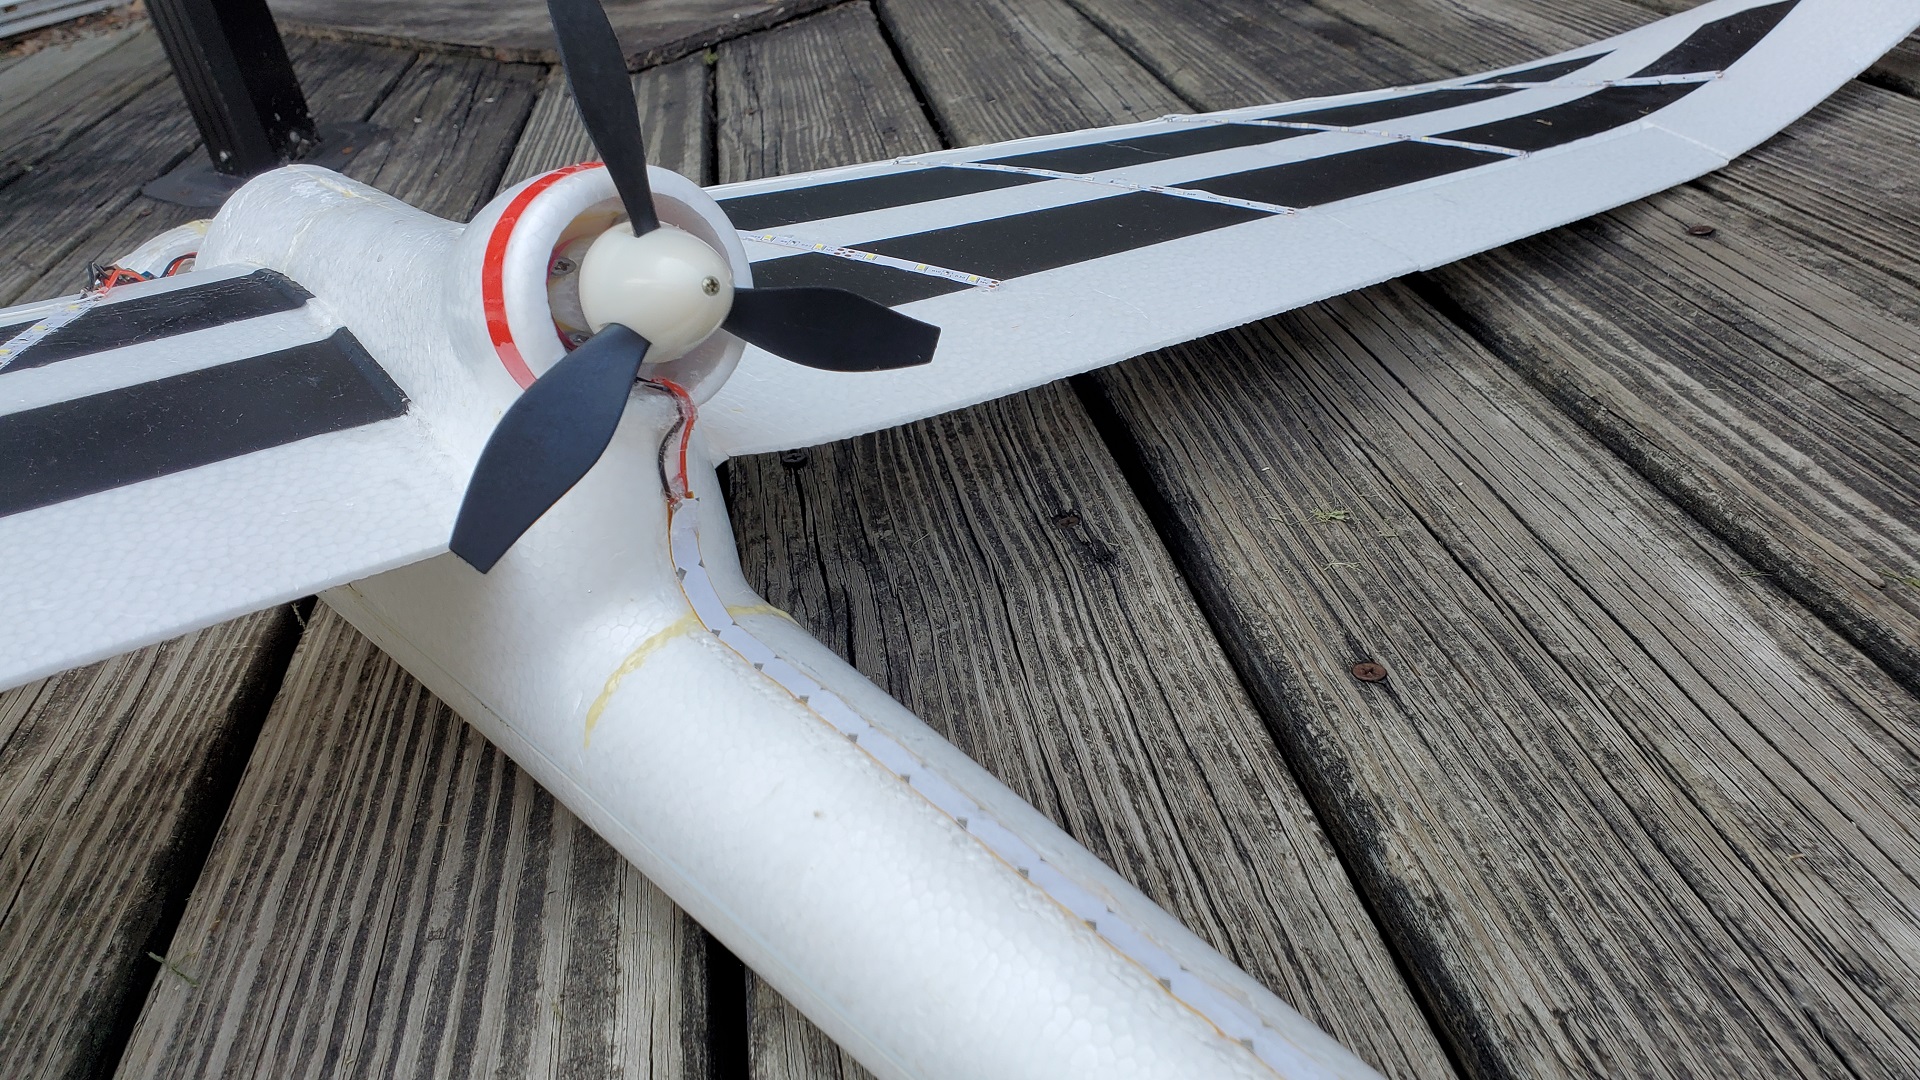
Decided to spruce it up with a few stripes painted on top after removing the decals - had to remove one from wing to replace a servo that went bad, so just took most of them off (they were pretty crap anyhow). I then got the idea to add LEDs so I could fly at night when the wind is usually low. Sure you can buy gliders with LEDs built in, but figured I could do it pretty cheap and easy. Designed a circuit board to flash the lights on and off when voltage is too low by using the ADC of an Arduino Nano for the the voltage measurement.
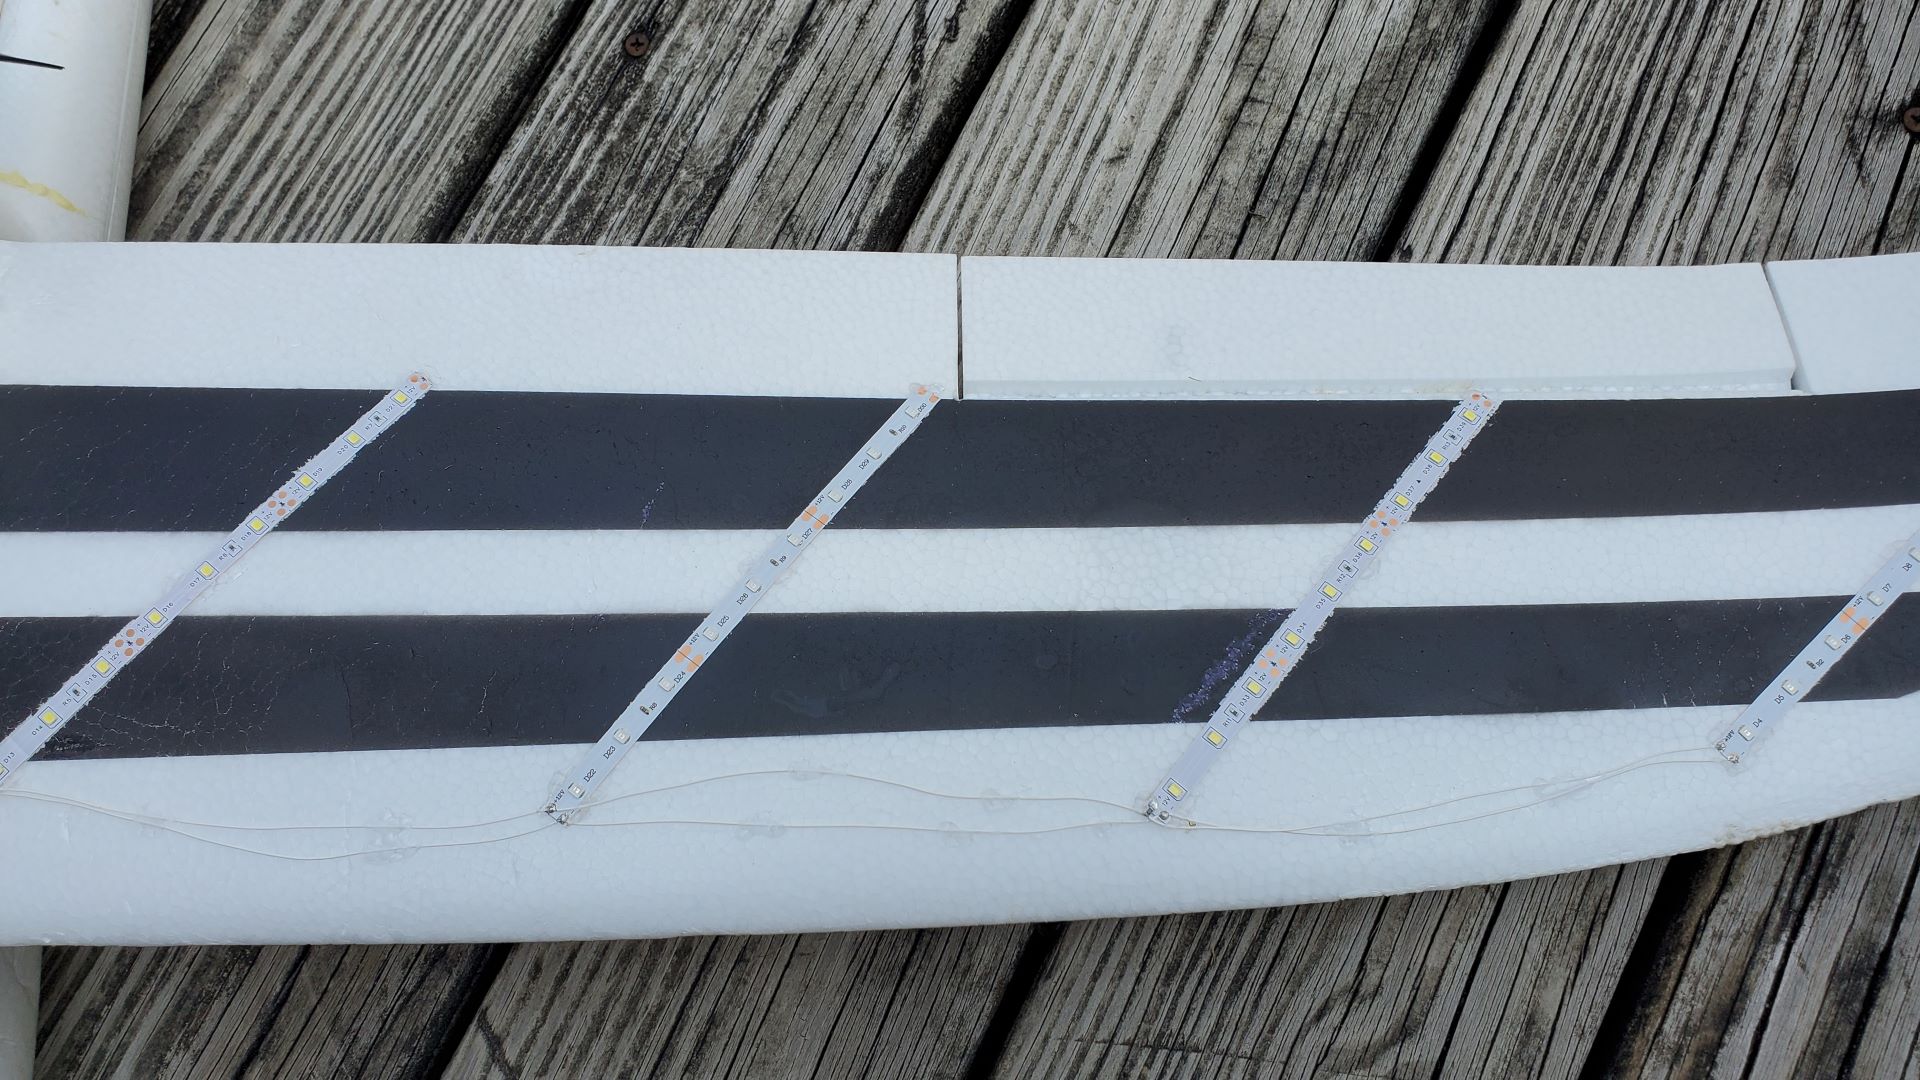
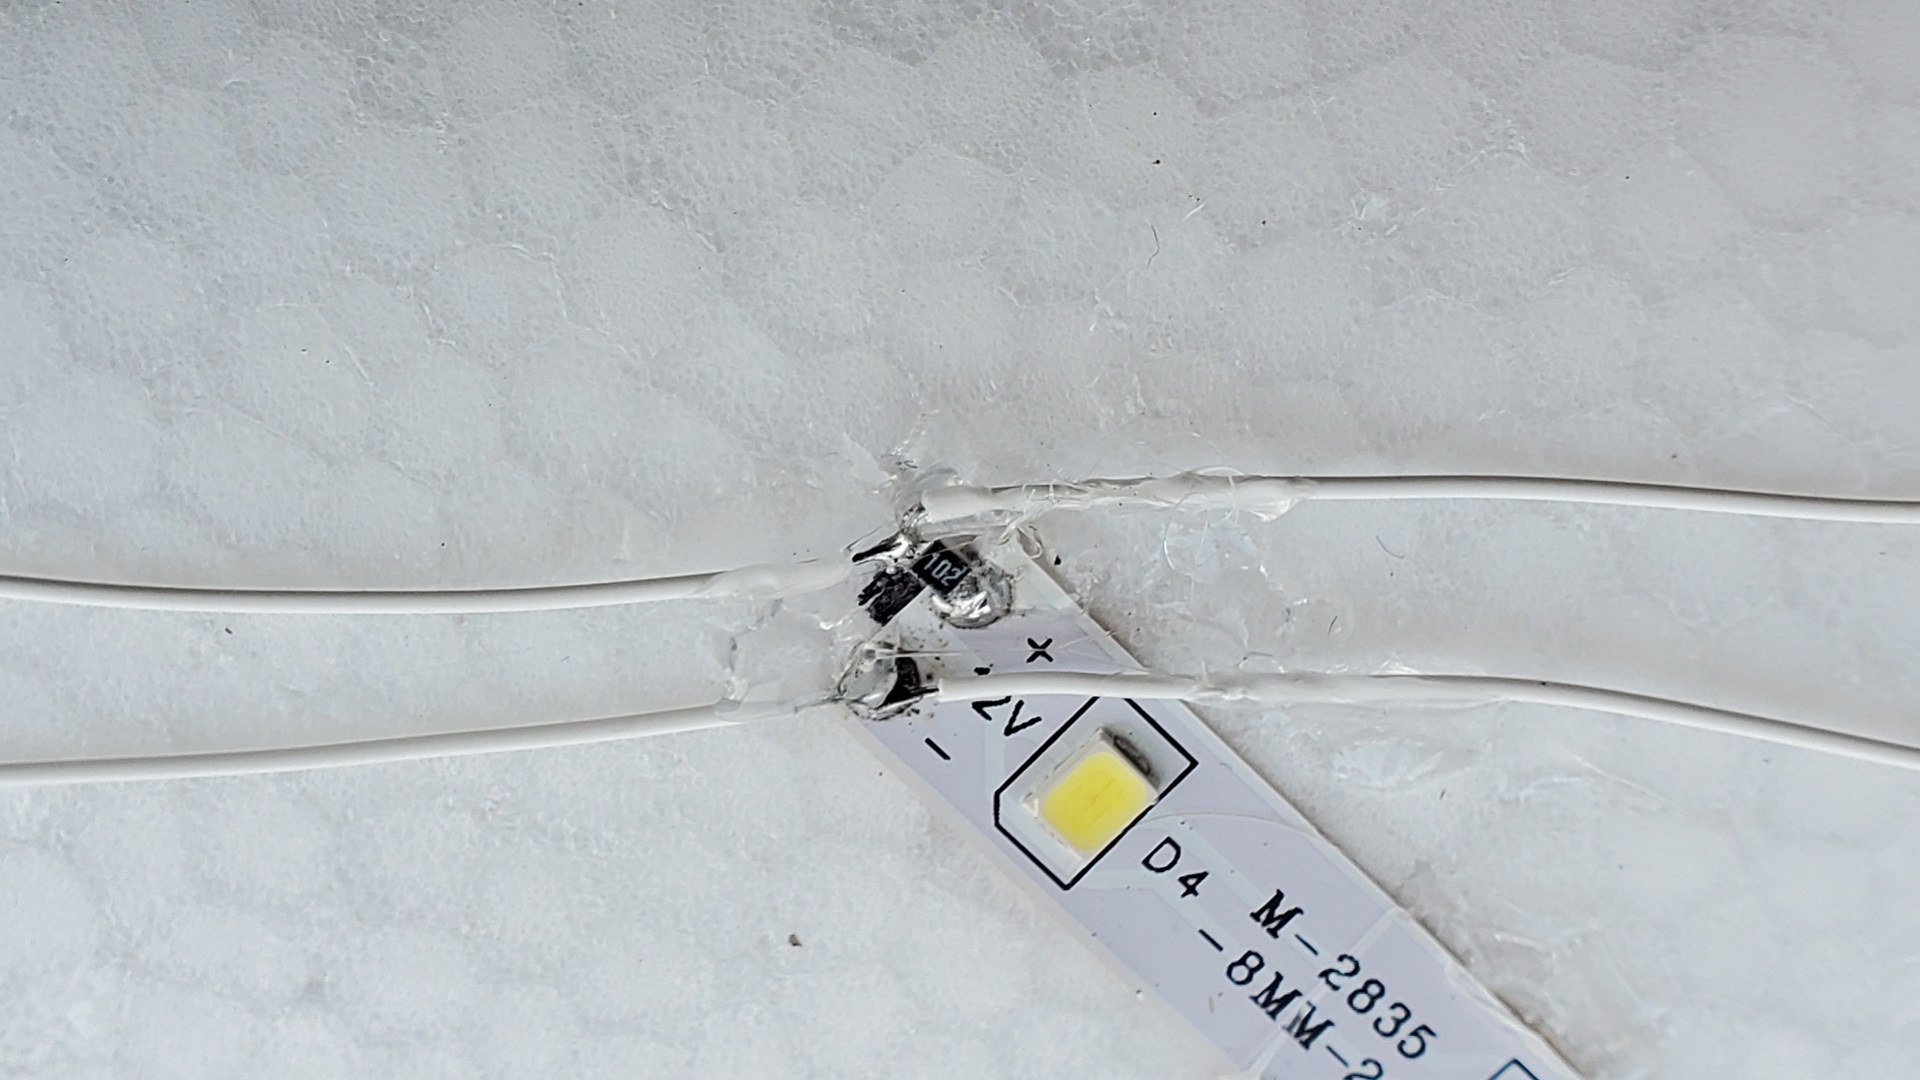
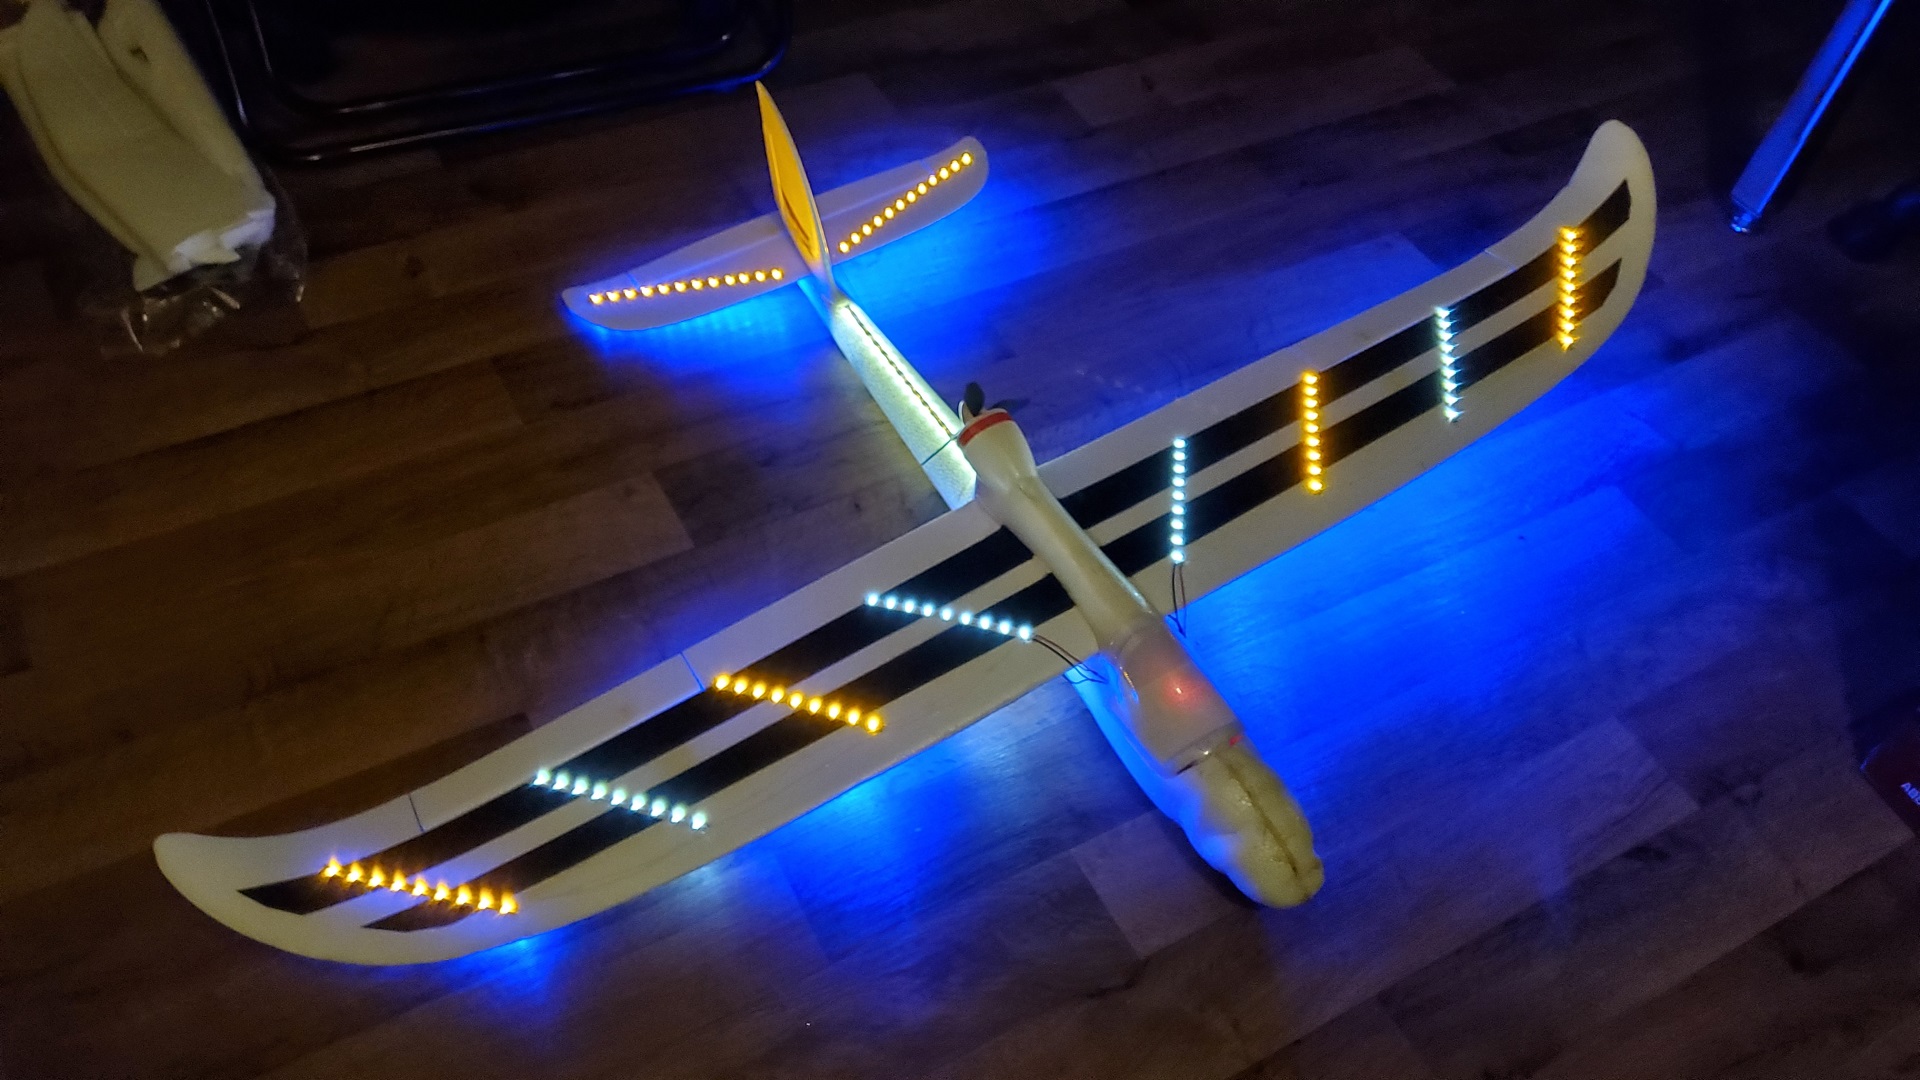
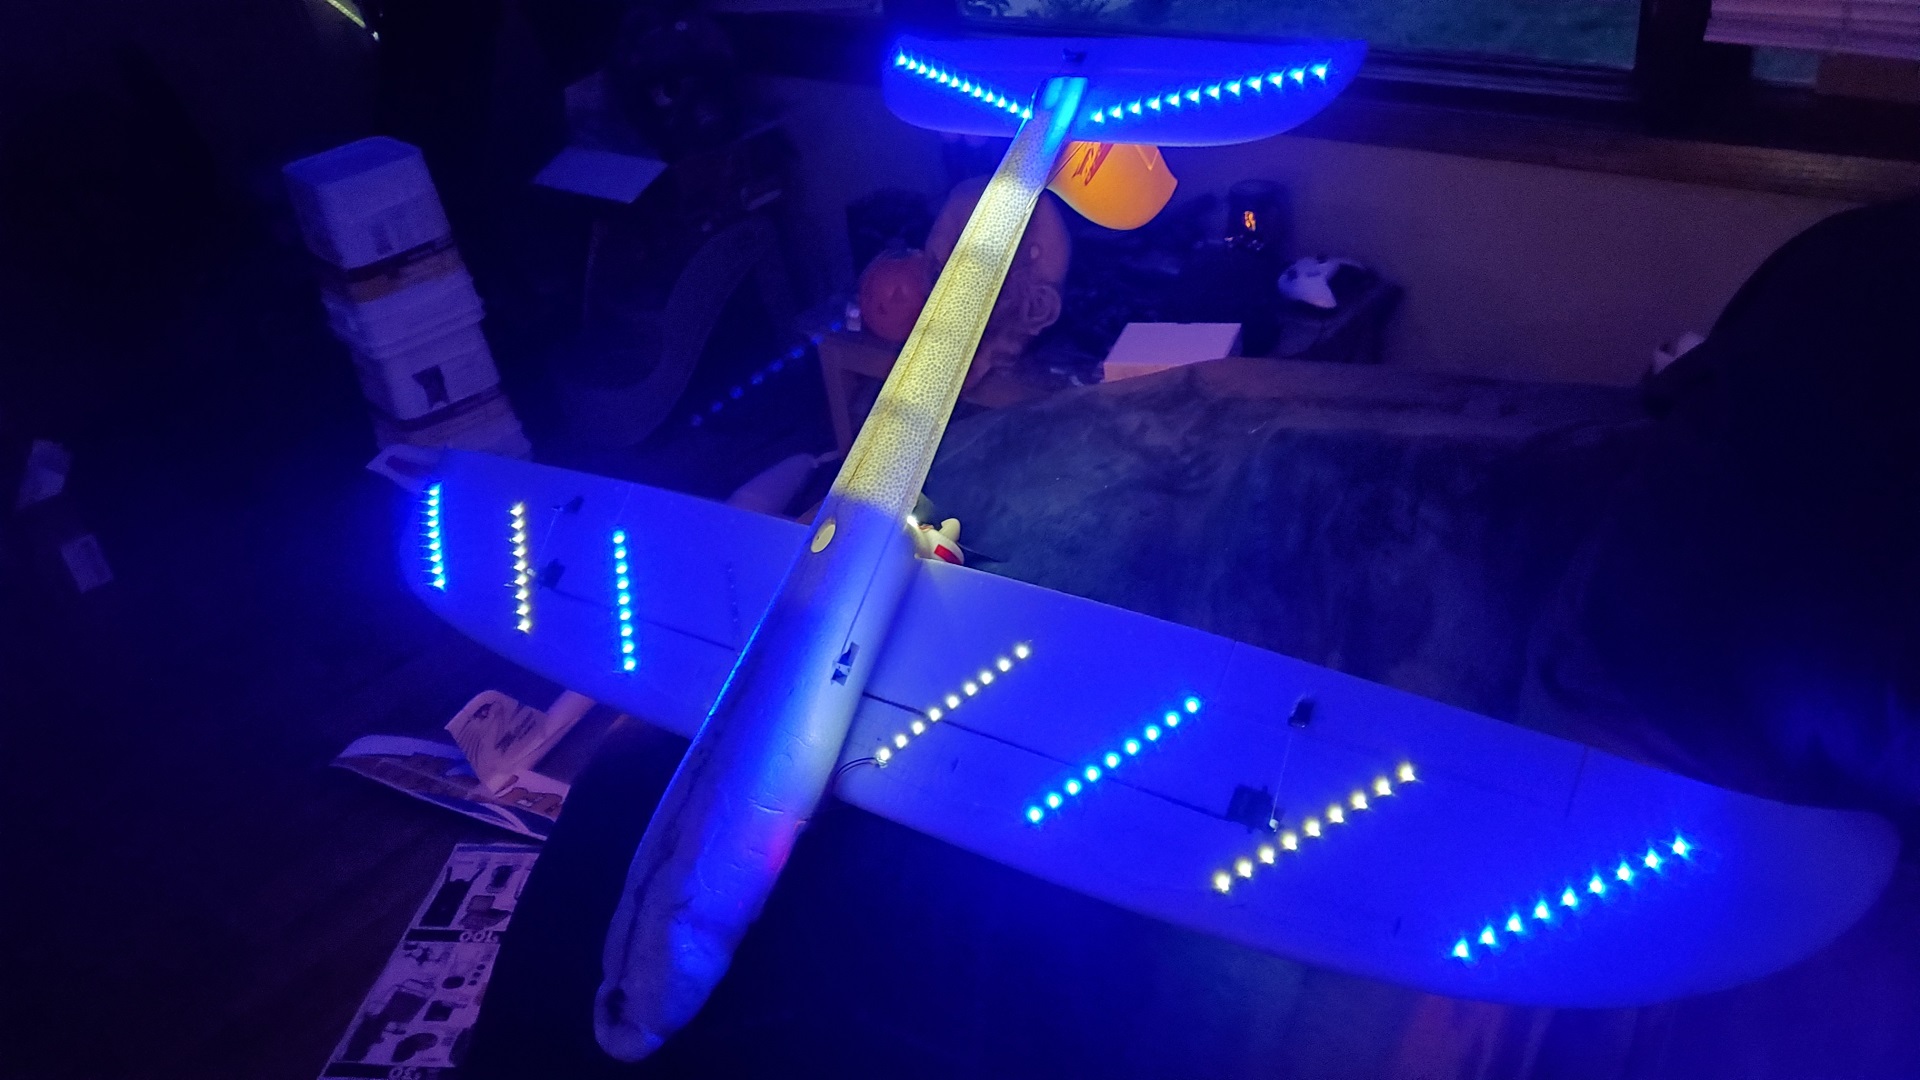
When testing it out, it was apparent the white strips were much, much brighter than the colored ones - they were almost painful to look at. Decided to add a 1K resistor to the white strips. Alternated the colors with white on the wings. Also used white on the fuselage, but glued it upside-down so that it would make the fuselage glow.

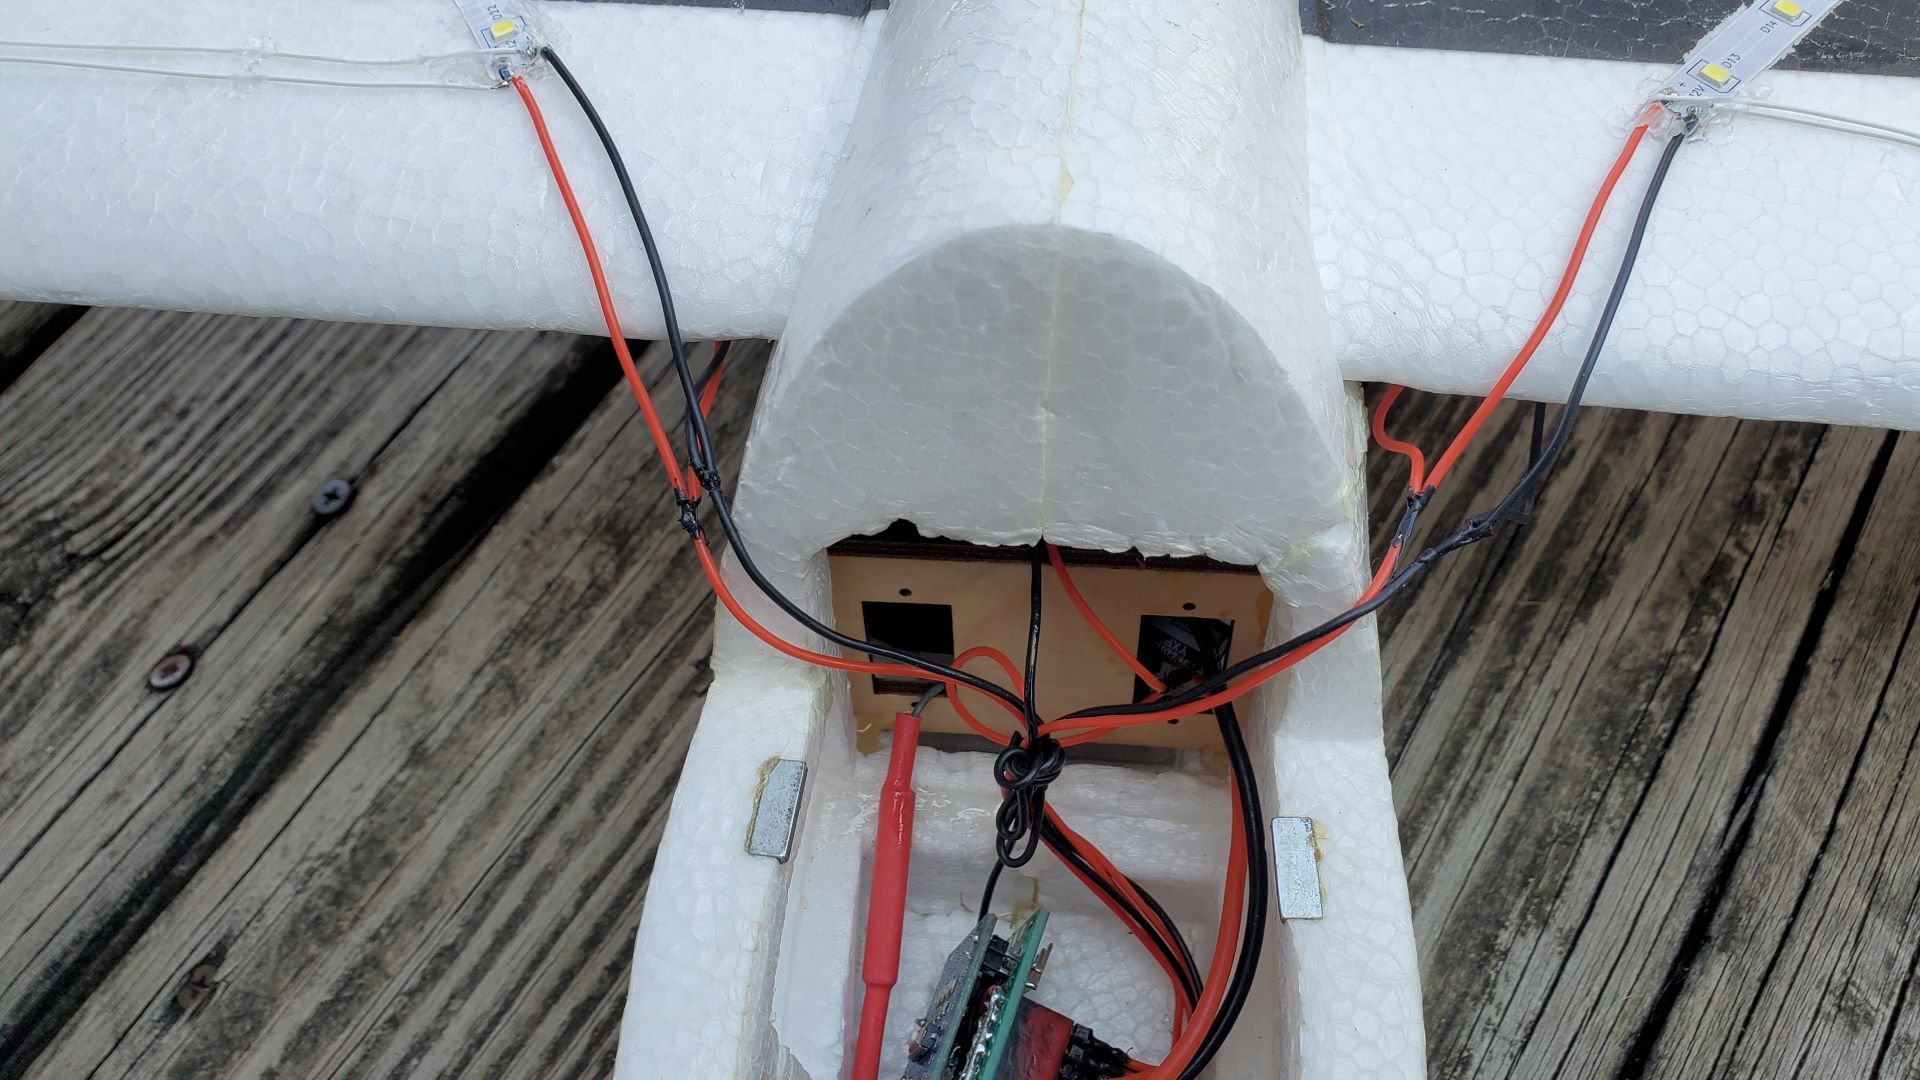
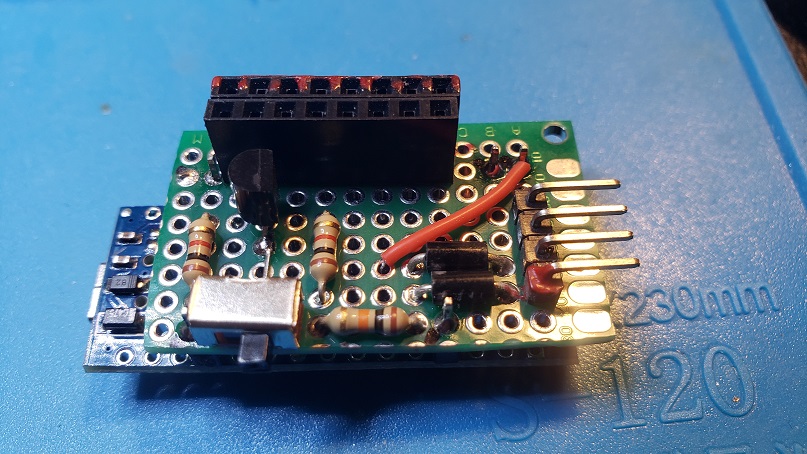
Made an Arduino Nano "shield" board that uses a transistor to turn the 12v light bus on and off via the 5v output voltage of the Arduino Nano. It uses the ADC of the Nano along with some resistors to be able to measure voltages up to 5 or 6 volts - a voltage higher than a single 3.7v cell of a lipo can output. When plugging it in, the red LED will flash the number of whole number volts it reads, which can be useful to let you know if you've just plugged in a charged lipo (would flash 4 times) or a depleted one (would flash 3 times). The switch is for day/night mode. In night mode, lights are always on, and will flash once the voltage gets below the desired threshold voltage - in this case, I made it 3.4 volts. In day mode, the lights are off, and will flash when the voltage gets too low.
I also added some Schottky diodes into the circuit so that if it was plugged in backwards, it wouldn't fry the components. I'm glad I did, because one night I did just that. It was dark, and I was looking at the red wire on the board instead of the red dot on the connector. I've since put an actual JST female connector so it's easier to not put in backwards. I could have probably designed a circuit just using the ATINY chip instead of the whole Arduino Nano board, but I wanted something that I could throw together quick, and honestly the Arduino Nano doesn't use that much battery in relation to the motor and the LEDs. Speaking of, using a 2200 mAh battery, I get run times of around 20 minutes, so power draw of the LEDs isn't a concern.
 Flying the drone and the glider right before a storm hit, ended up having to make an emergency landing as the wind picked up fast. By the time I got to the car with the wing it was already starting to pour.