Nerf Firestrike Mod
Replacement of Targeting LED With a Laser
Is this mod necessary? No. Is it complete overkill? Absolutely. Which is why I love it. It also has a better intimidation factor then just the weak LED ring. Also this can be used during the day, outside, whereas the LED can only be used when it's darker and has a pretty limited range (it is just one small LED after all). This mod isn't all too difficult. I got the idea when I saw on YouTube how someone had taken one of those laser pointers that uses 3 button batteries and made it work with 2 AAA batteries instead. Since this gun uses those, I figured it would be easy enough to just replace the existing LED with that laser module. And it is.
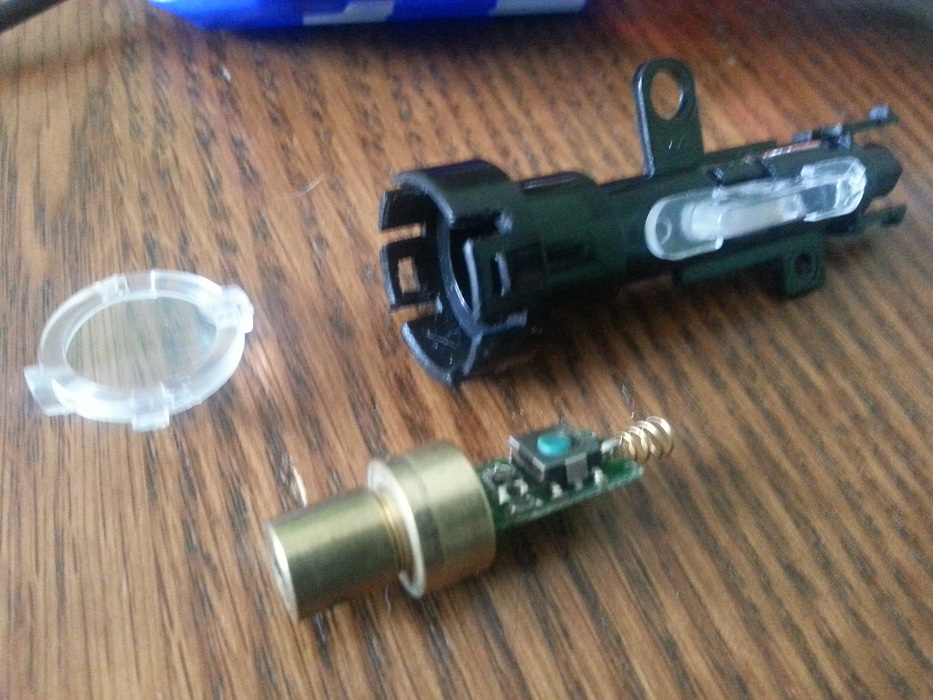
Getting the module out of the laser pointer barrel might be a bit of a pain if you don't have a dremel. That's what I used to just split it completely down the middle, allowing the module to slide right out. I don't recommend trying to force or twist it out as it's usually pressed in there pretty good, and you'll probably break the board that way.
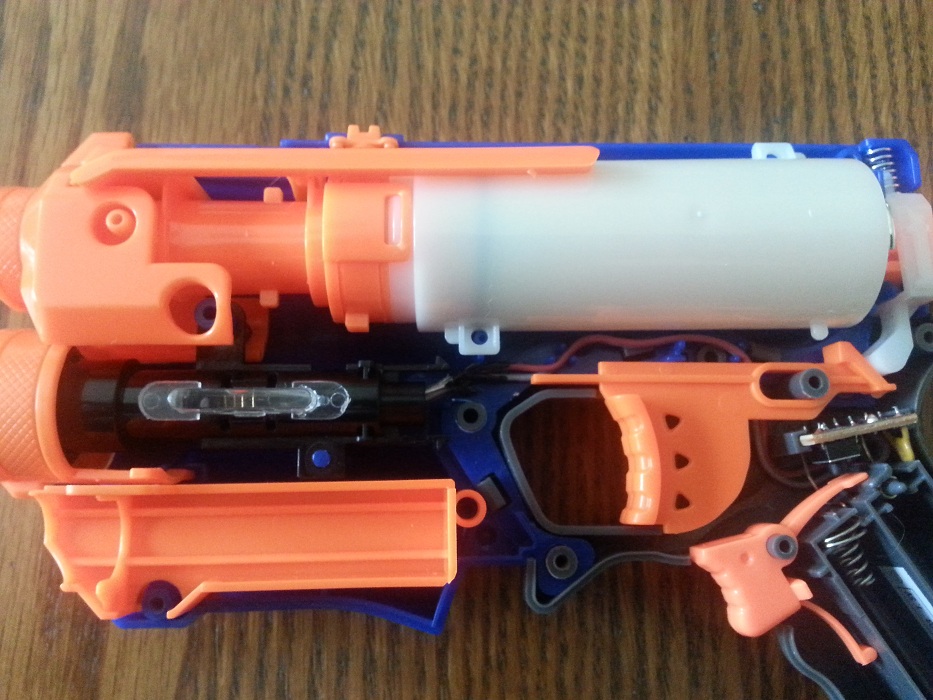
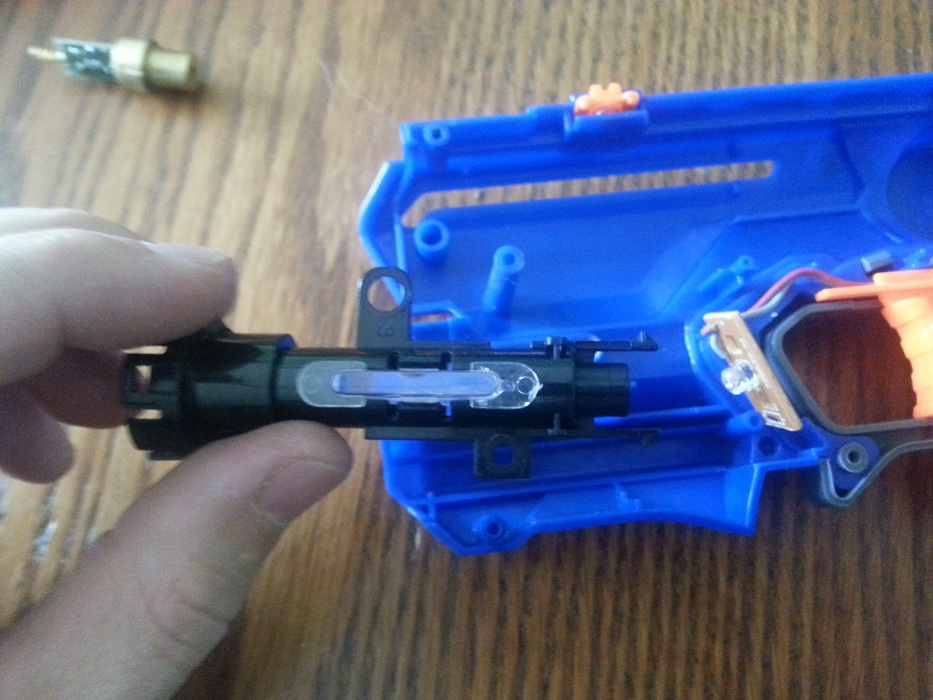
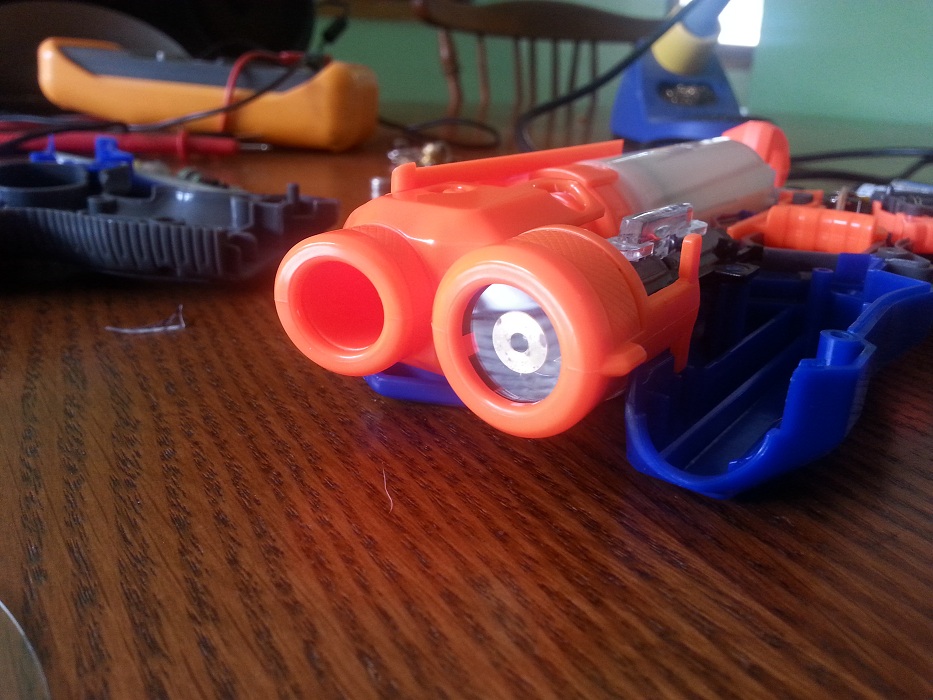
To take apart the gun, unscrew the 7 black screws holding it together, and lift off the top half of the shell, that's it. Just be careful not to lose the little nut that holds the battery door, it's very small and will bounce out of site and into the ether if it sticks to the top half of the shell and drops. Look on YouTube for nerf firestrike mods, they show how to take it apart. You need to get to the black barrel that has the LED board attached to the end of it. It simply unclips.
After that pry out the clear lens from the barrel, if you're careful you won't break any of the black tabs holding it in place.
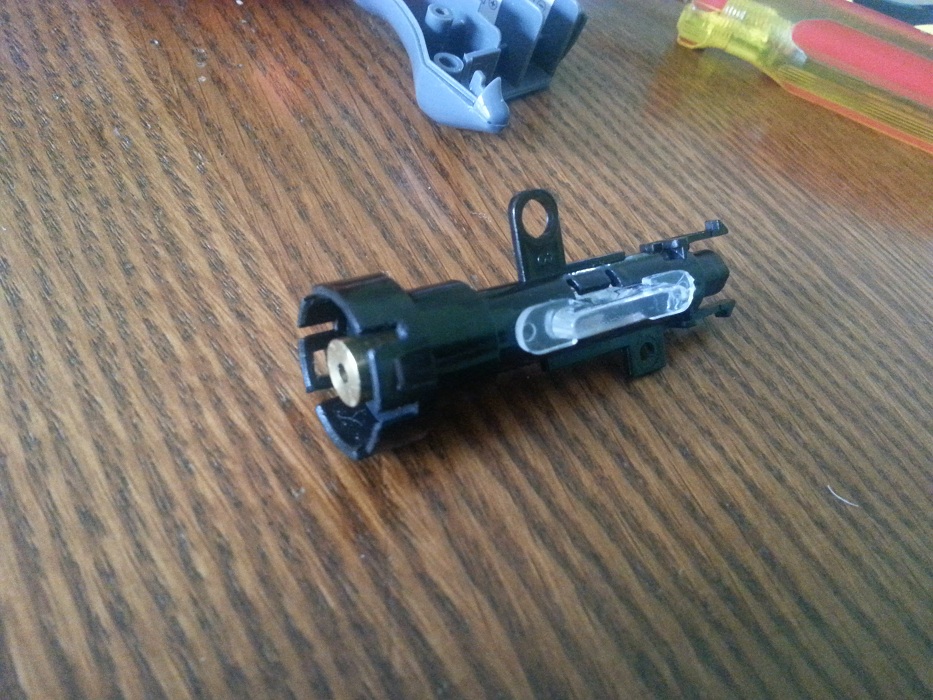
As luck would have it, the module just fits inside the barrel, both width-wise and length-wise, almost perfectly. Makes things quite a bit easier. As you can see, it just sits back slighty from the end of the barrel when inserted fully.
Next step is to connect the laser module to the existing LED power wires. Best way is to connect a length of wire to the laser module, thread it thought the black barrel, then trim and connect it to the existing wires. I'm sure they are all different, but I figured out where on this laser module I could just solder the positive and negative and it would power the laser, bypassing the little switch onboard. I used an ohmmeter to trace what connection on the board was also connected to the outer barrel of the laser, which is usually positive. Negative should be where the spring is attached. Again, your mileage will vary.
Here you can see I simply desoldered the leads from the LED board. I'll save it for who knows what, might come in handy.
Now it's simply a matter of fitting the laser module in the tube, trimming the wires so they aren't sticking out too far, and soldering them to the existing trigger wires. Obviously pay attention to which is negative and positive and wire them up correctly (I THINK the red one was positve, but I'm not...positive...).
Next I put some liquid tape around the soldered connections to stop any shorting. You can use heat shrink tubing or black electrical tape if you like, but I like this stuff, it works great for smaller connections so you don't have to worry about the stiff bulkiness of heat shrink or tape when space is a premium.
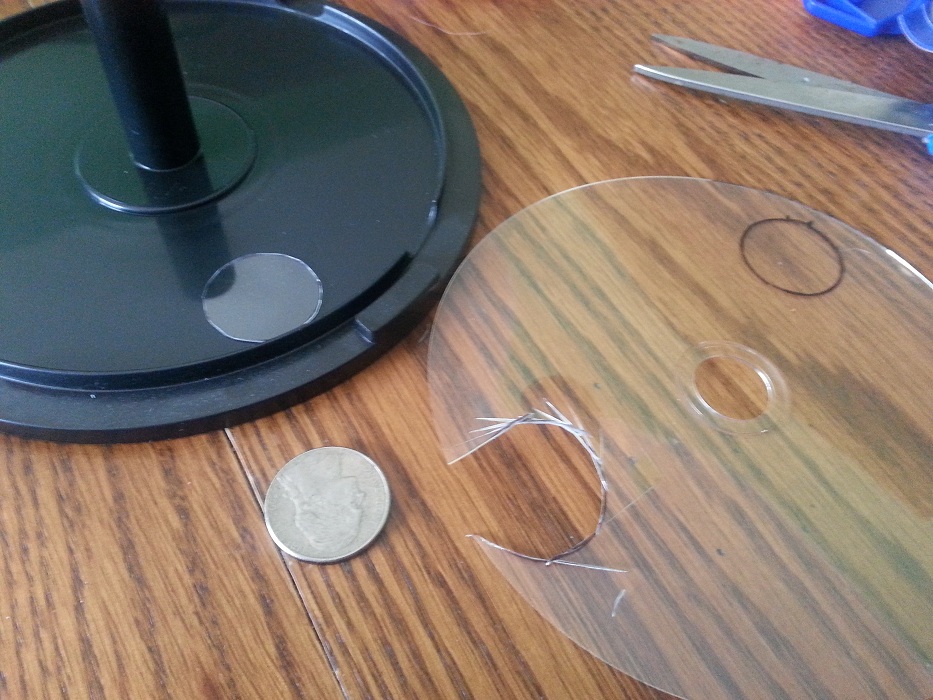
I wanted at least a little bit of protection for the laser module since the lens was now gone and it was exposed to the elements. I looked around and found a clear plastic disc that's used on the bottom of blank CD spindles. It was thin enough that you could cut it with scissors, yet still stiff enough to be useful. A nickel happened to be the perfect size for the template, I used a sharpie to trace and cut it out.
I then fit it on the inside of the orange barrel where the black barrel fits into, it simply is a press fit and won't go anywhere once the barrel is put back in place.
After all that it's just a matter of fitting it back together the way it was. Well that and getting the laser to line up. You can fit a little bit of something in between the black barrel tube and front of the laser module. However, to make mine fit better, I wrapped it in two layers of black electrical tape. By this point, I had already soldered it together so didn't have the option to do that. Instead I fit some wire in between the black barrel and one of two little clear plastic pieces that used to show light from the led on the side. I'll leave it to you to make it as necessary for you.
Another, better option might be to drill two small holes on that orange barrel, one directly to the left/right (depending on which way your laser is straying) and one below (or above, again, depends on what how your laser is off). Then put in a couple small screw, which you can then use to adjust and fine tune the sight. But realistically, this mod is overkill anyhow, it doesn't have to be dead on precise since the darts will start to stray in whatever direction they want after about 10 feet anyhow.