RC Aircraft
Menards $7.99 Foam Jet RC Conversion
Planning and Execution
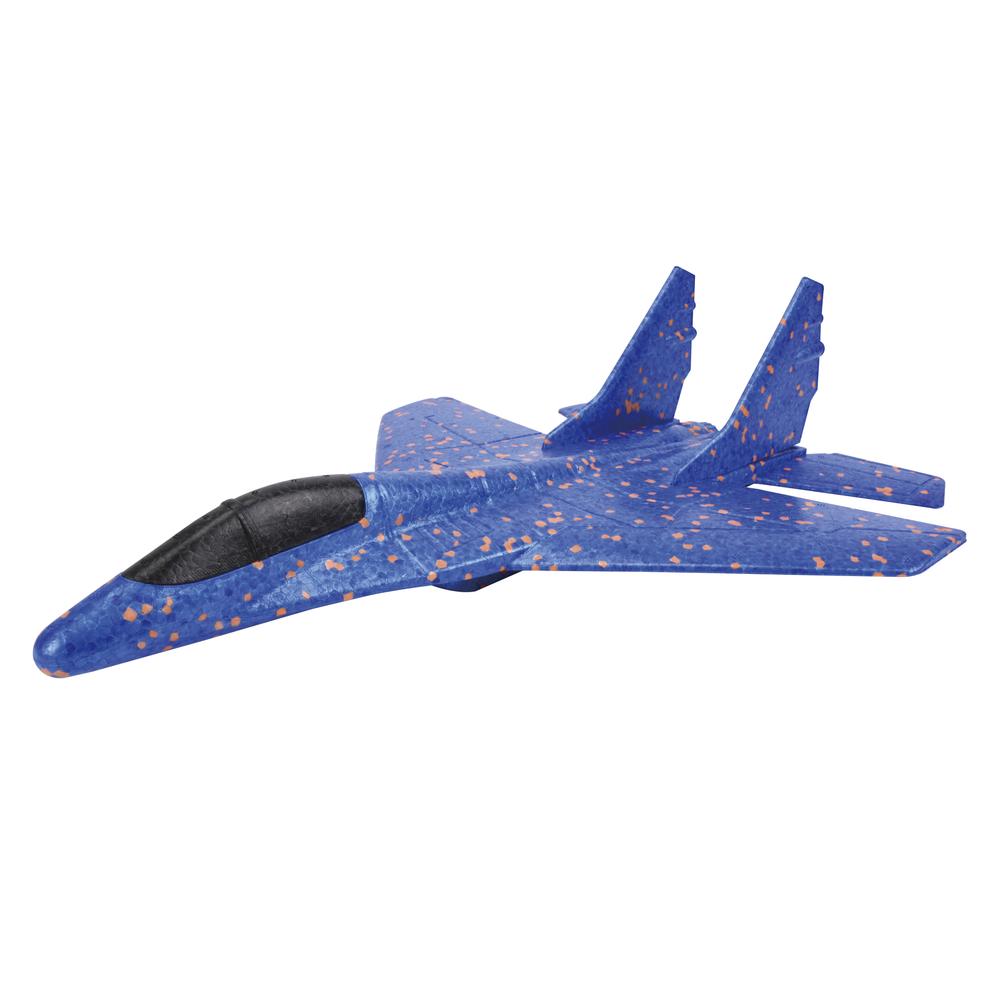
When I purchased the Sonic Flyer at Menards, along with the other toys were some foam jet gliders for $7.99. I noticed they were the exact same foam model as the Sonic Flyer, which are only about 17 inches long. It was then that an idea struck me. I was planning to do a Mini Solius RC conversion (and still am), but wanted to see if I use the same concept but for this foam jet. No idea if this was going to work since I couldn't find anyone else who did anything similar. Since I already had the parts on hand, I figured I'd give it a shot, and if it didn't work, no big deal, just use the parts in the Mini Solius conversion.
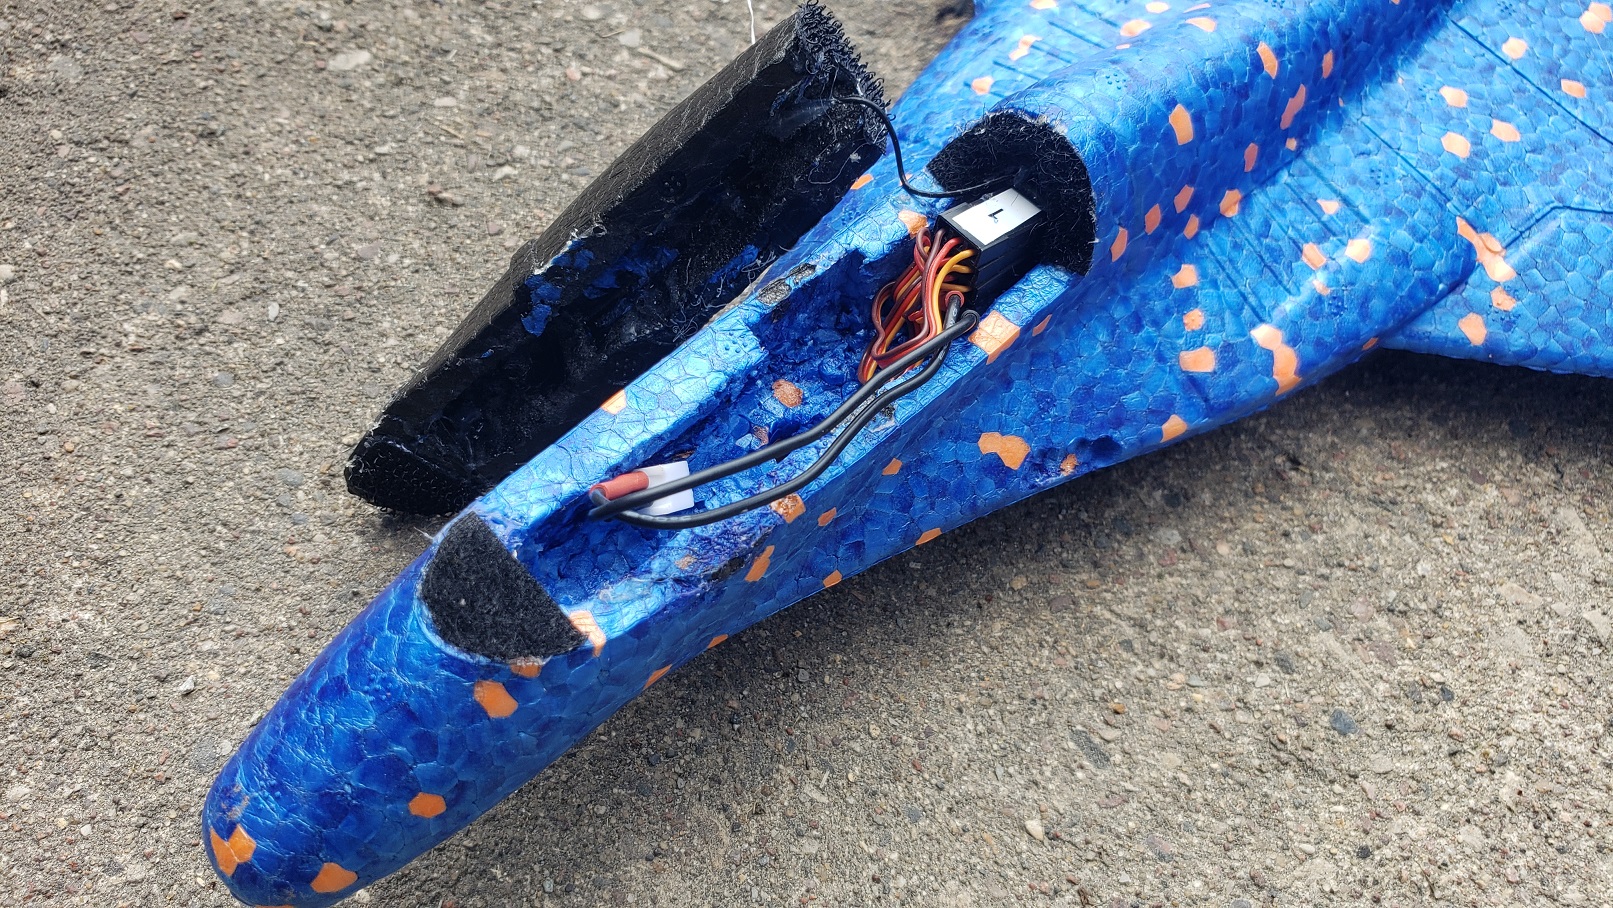
Before doing anything, I marked the CG points on the assembled plane. Then, I removed the canopy. It's just stuck on with some glue, so can be removed with some prying, pulling, and cutting with an X-acto. There's a ball bearing in there for weight that needs to be removed. I hollowed out a bit more of the canopy, and then the cockpit area as well, down and farther back to allow room for the F2SA mini receiver, battery, and wires. I found a needle nose pliers worked really well for pulling out parts of foam after making top-down cuts with an X-acto knife. I also used a foam hot knife that looks like a soldering iron with attachable blades. After test fitting things to where I felt I had enough room, I punched a hole through the canopy to allow the receiver antenna to go through. Originally the canopy and cockpit were just slightly less wide than the battery, allowing a nice press fit so both stayed in place. However with the newer battery, it was slightly different in size, so I added some velcro to the front and back of the canopy to hold it down.
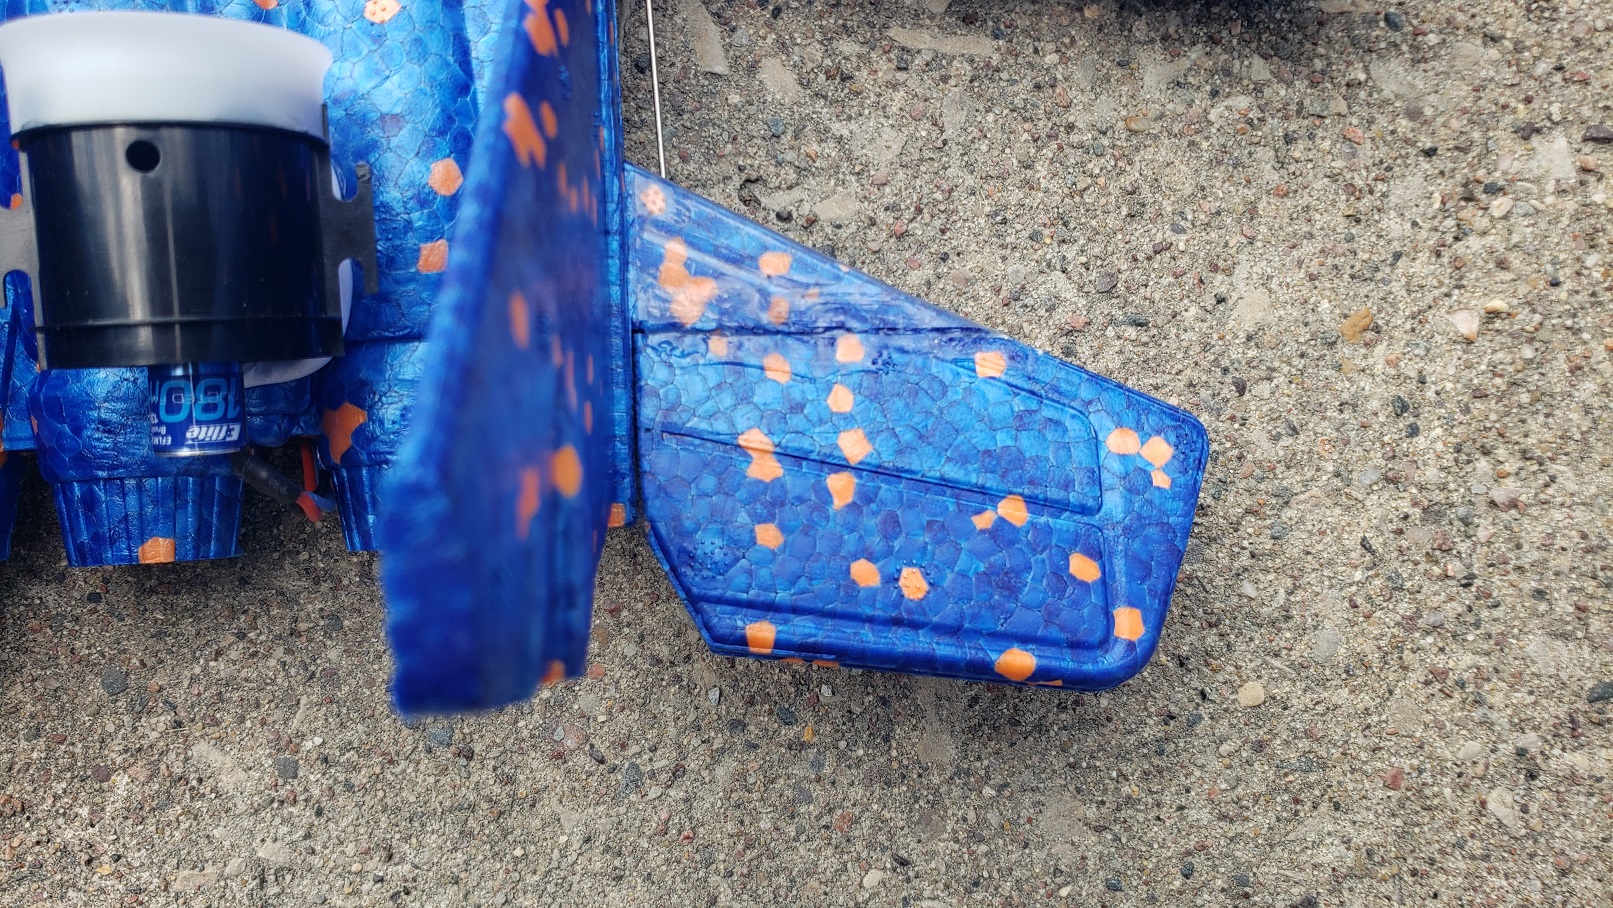
Next, I cut out the back fins to use as elevons. The area left on the body to hold the hinge is a bit small so it flexes quite easily, so to strenthen it a bit I used some hinge tape. I used hot glue for the hinge. (I got the hinge tape afterwards, otherwise I would have just used that for the hinges.) I 3D printed some small control horns and glued those in place.

I would try to balance the jet on the CG points with everything in place but not secured (battery, reciever, motor & ESC) while trying to figure out where to put the servos to try to keep everything balanced without having to add nose/tail weight since this needed to be as light as possible. I placed the servos in what I thought was a good spot weight balance-wise as well as not too far from the horns to keep the control rods shorter. I cut out foam to accomodate the servos, being careful not to go too far through the wings. The servos are actually micro-servos, as the standard 9 gram ones would be way to big and heavy - these are less than half the size and weigh only 2 grams.

The requirements of where I placed the servos and motor meant I had to extend the wires to both the servos and the motor/ESC, visible in the picture above.
Part of why I really wanted to try this was the sound that little turbine engine made when watching the converted Mini Solius video, for some reason I just liked the way it screamed. In trying to figure out a light-weight yet least destructive method of mounting the motor, I came up with the idea to use modeling foam. I was going to use it in a previous project that I never got around to, so had it laying around. It's really lightweight, soft, squishy and moldable, and dries in a few days. I put some about the size of a half dollar and about a quarter inch thick on the tail of the plane, and stuck the motor in the position I wanted. I let it sit like that overnight. The next day, I removed the foam piece from the plane and motor to let it dry more fully for another day. After that, I hot glued the foam to the plane and then the motor to the foam. This allowed for maximum surface contact between motor/foam/plane, whereas if I had just used a huge puddle of hot glue, it would have been rather heavy as well as run the risk of melting the foam.
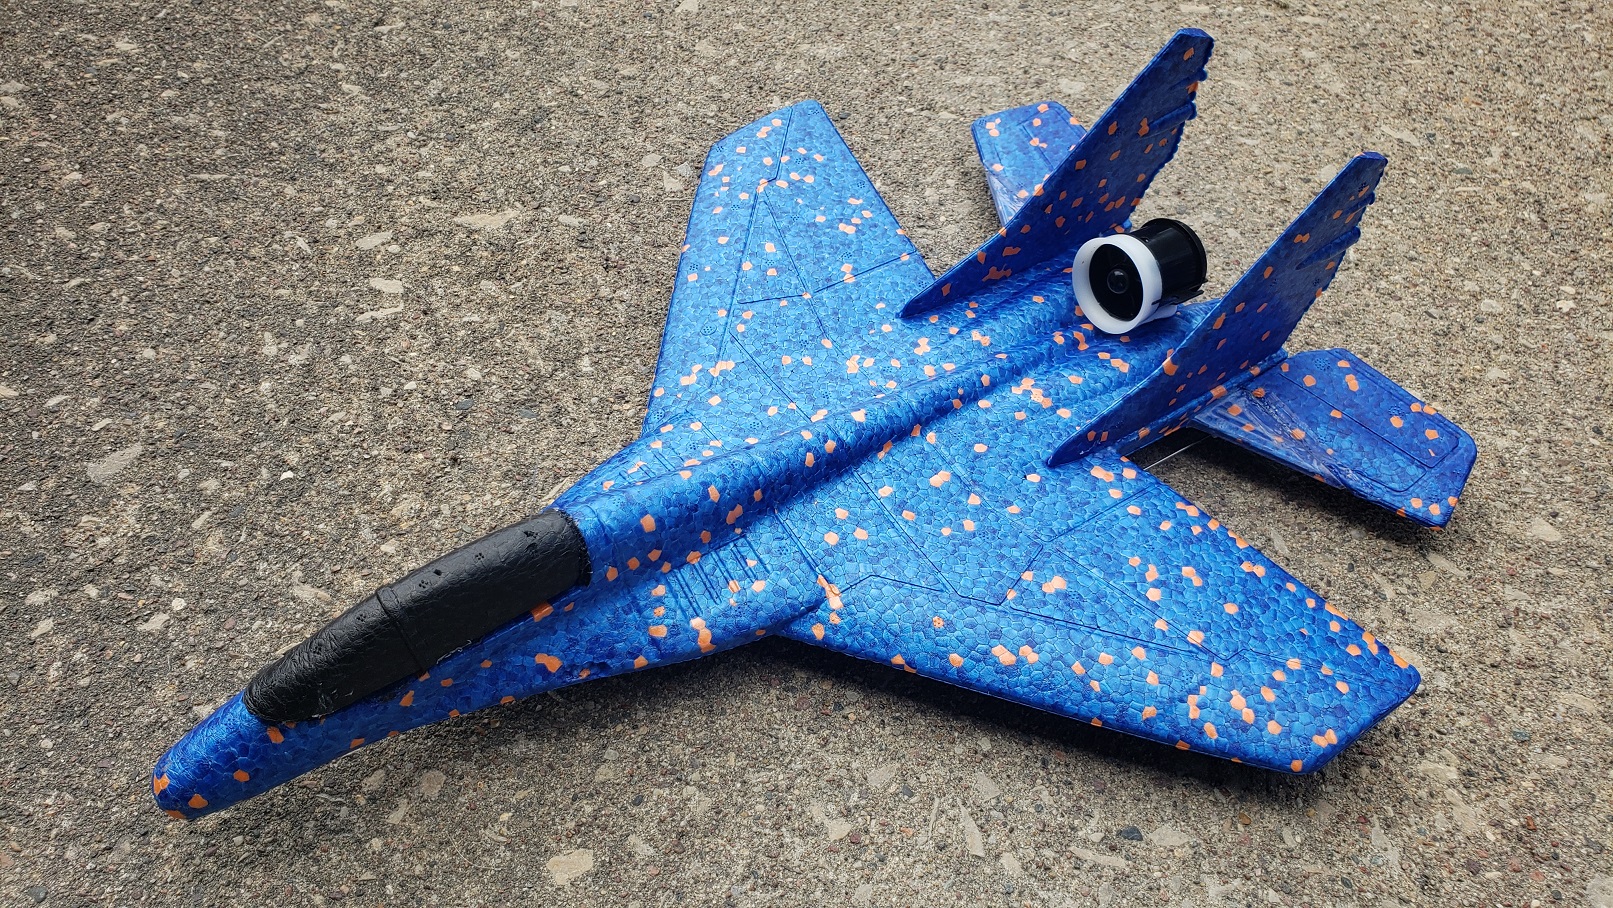
Lastly I hot glued the stabilizers in place.
 After binding the receiver and changing the transmitter mixes to my liking, I had no idea if this was going to work. My guess was that it was barely going to stay off the ground. You can imagine my surprise when I found out not only does it work, but it works really, really well. It's way more fun than I expected. It's quite a bit faster and more agile than the Sonic Flyer.
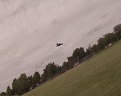 Given the fact that it's so small and light (around 90 grams with the battery), crashing isn't a huge concern. However, the trade-off is that since it's so light, it doesn't do well with much wind at all.
 I may try adding aileron controls to the wings for more control, but not sure that's necessary, it's pretty nimble as it is. Only issue is that it can't do loops, but I think that's just because it doesn't have enough thrust.