
RC Aircraft
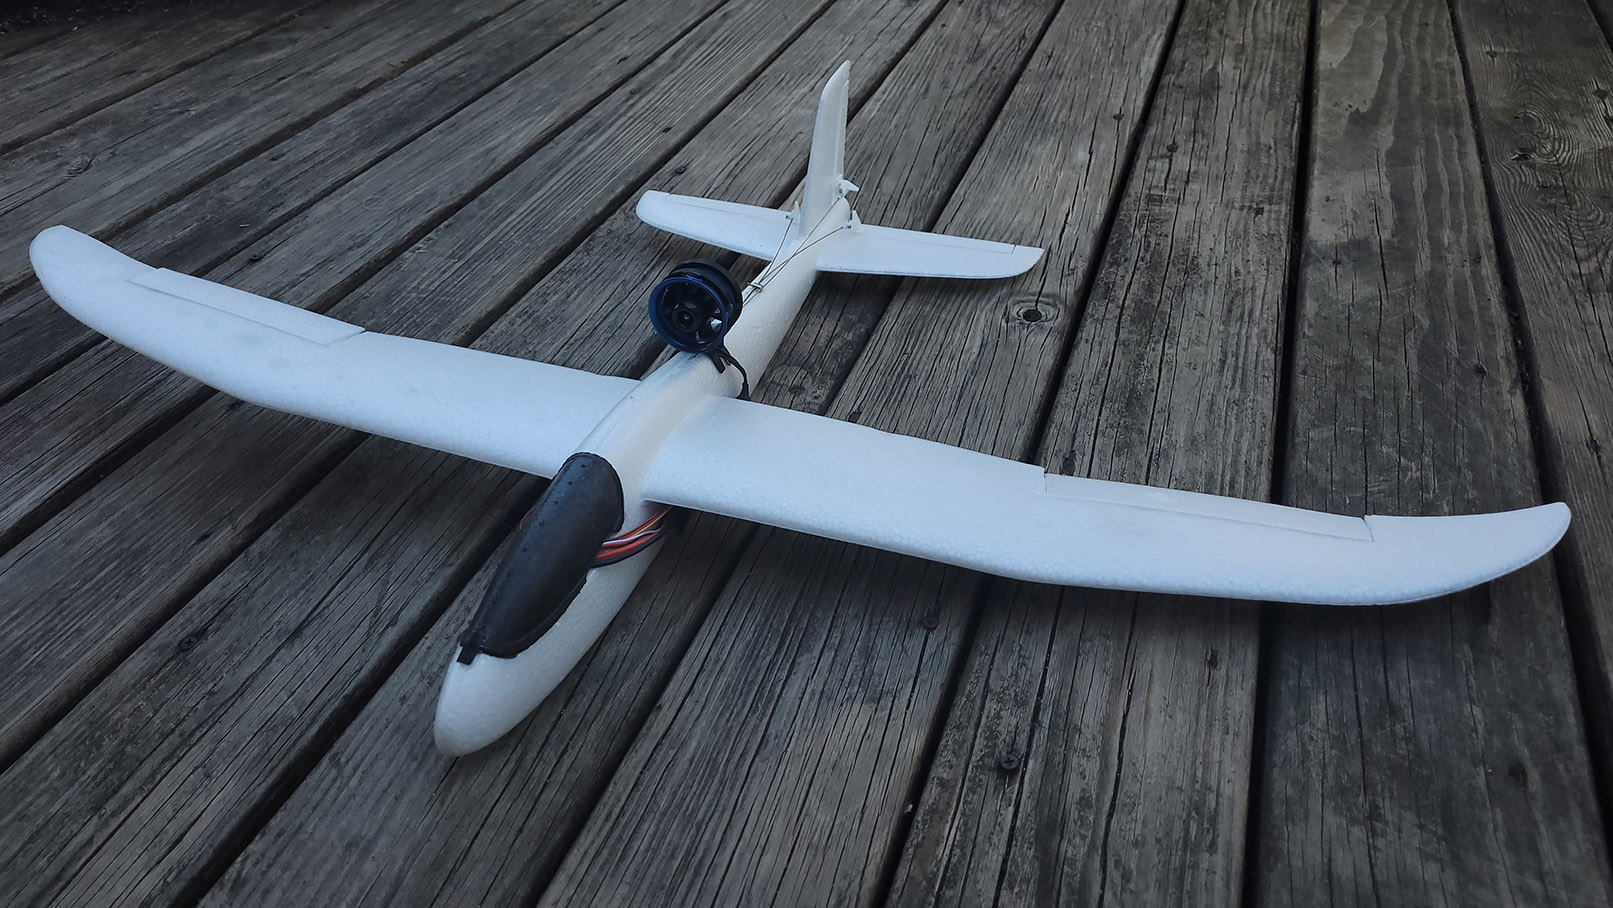
Albatross - Cheetah Glider RC Conversion with EDF
Conversion Steps
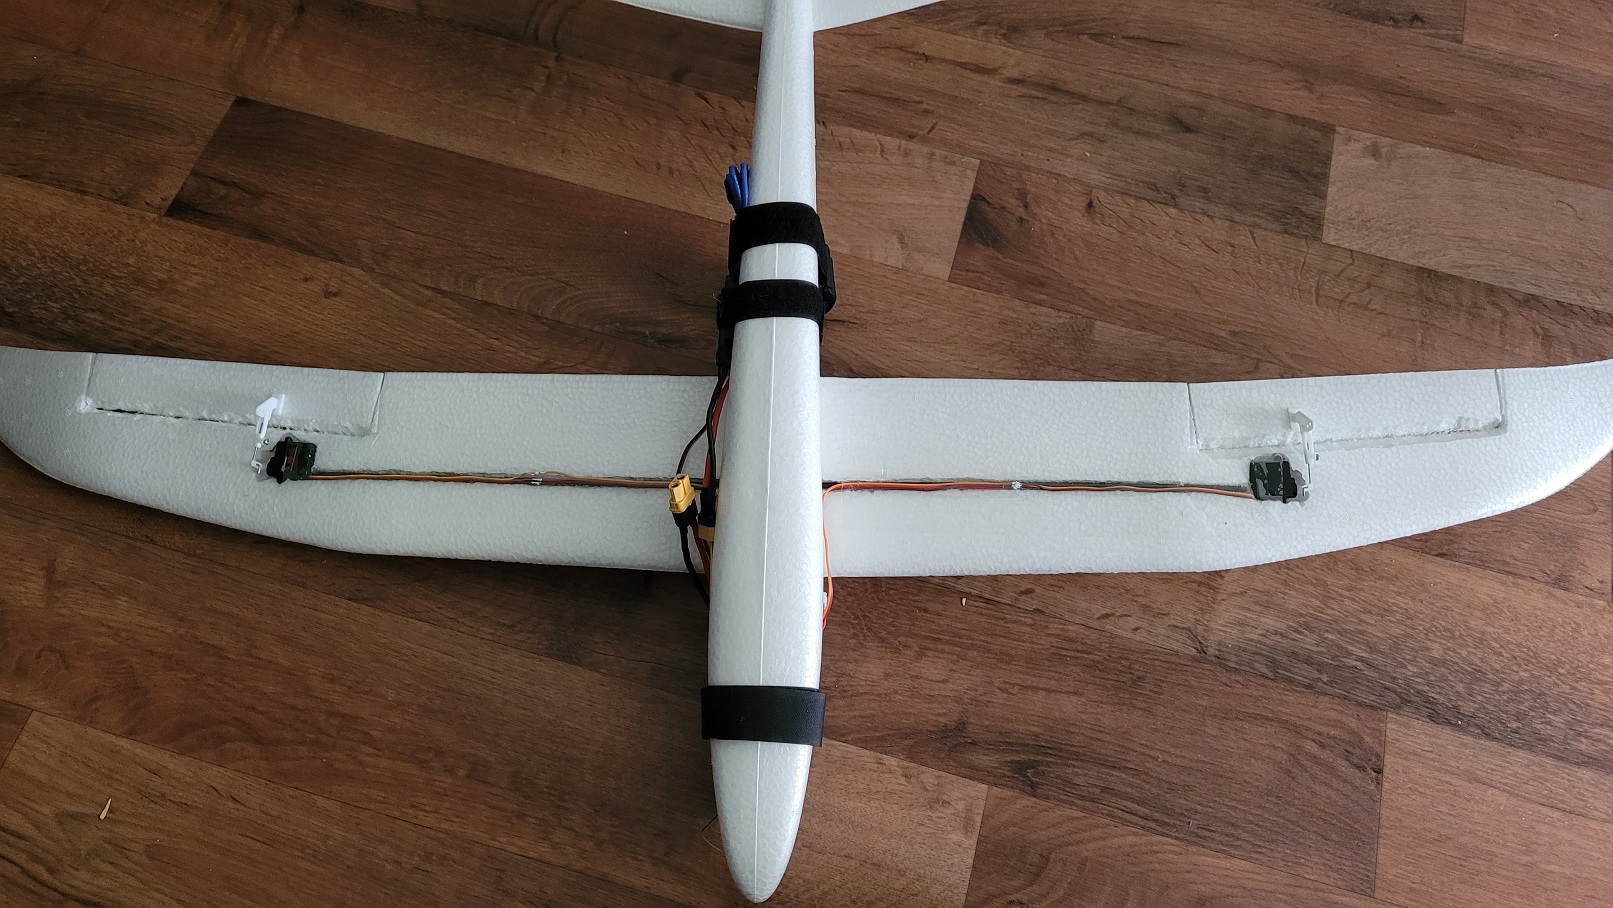
I removed the canopy as well as the ball-bearing weights. I created a channel for a 3mm carbon fiber rod to strengthen the wings, and purposely created it at the CG point of the plane to make it easy to reference later. After that I hollowed out areas for the aileron servos, put those in place, and ran the wires to the fuselage along the carbon fiber rod. I cut out the ailerons and attached control horns.
I used a coat-hanger thick wire heated with a propane torch to melt channels from the fuselage to the tail for the elevator and rudder control rods. For the elevators, since they were separate but had to move as one, I decided to just have another short control rod and attach that to the main elevator rod with a 2mm push rod connector that goes to the servo, like a 'Y'.
During the prototyping phase, I used velcro straps to secure the motor, ESC, and battery. I thought I was being pretty clever since I could then adjust their positions as needed in order to get the CG placement correct. As a test, I spun the motor up pretty high to feel the thrust as I was holding it, but almost immediately the propeller exploded. Unfortunately, I didn't realize that I tightened down the velcro strap a bit too snuggly, and since the outer thrust tube is made out of thin plastic, it deformed it into an oval, therefore causing the propeller to rub against the tube and eventually give way. Also unfortunate is that they don't sell replacement propellers for these, so I now have a backup motor in case a different one ever fails.
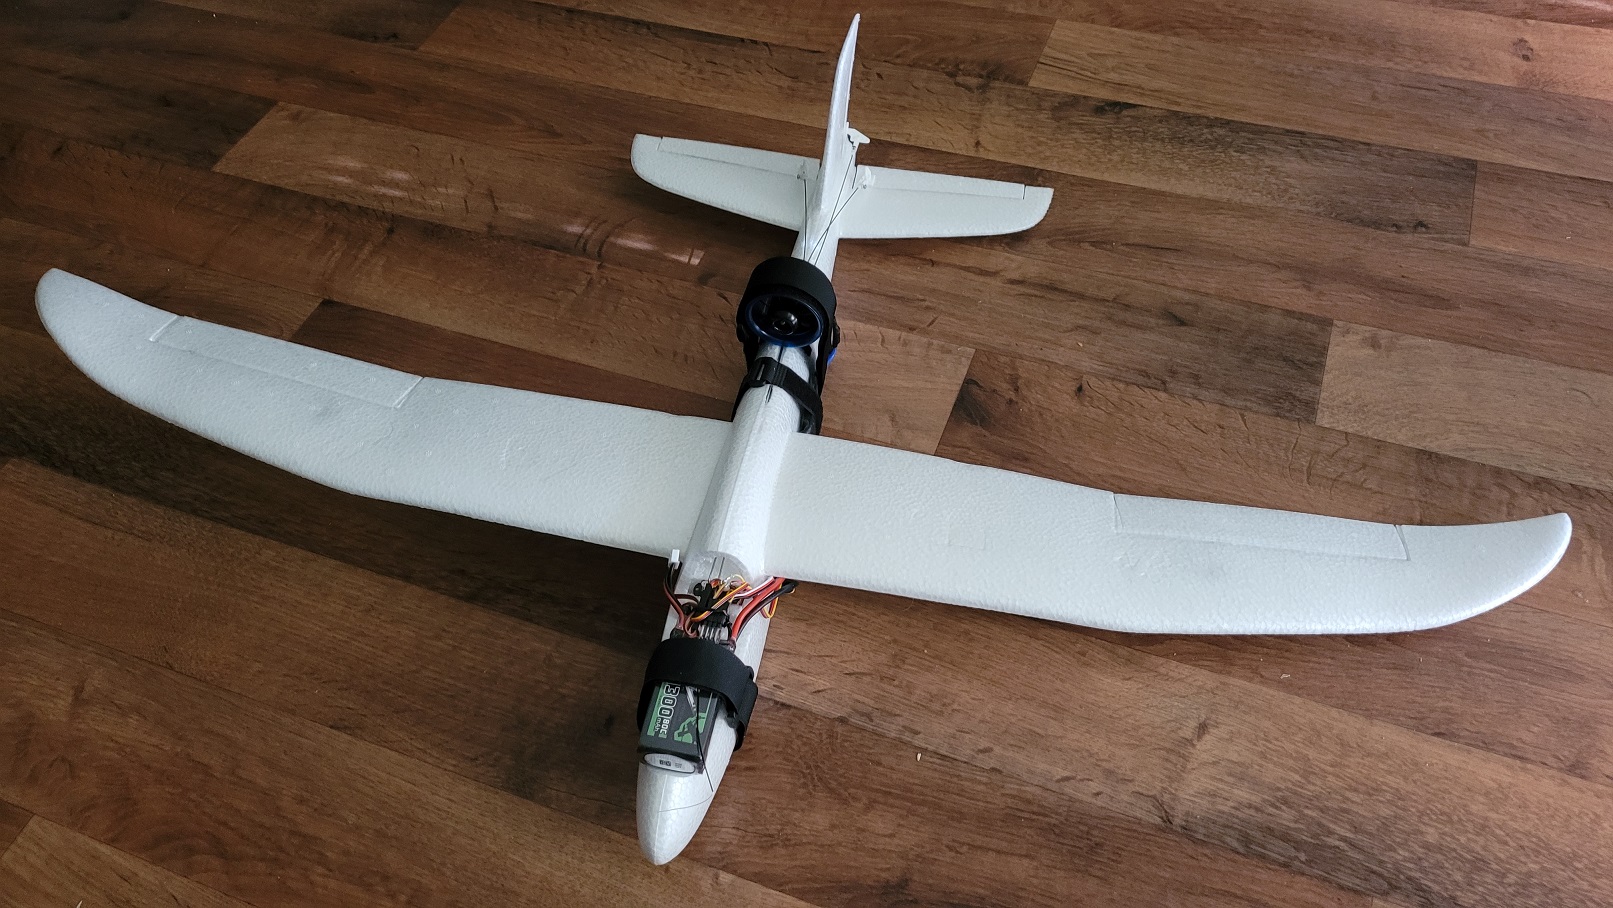
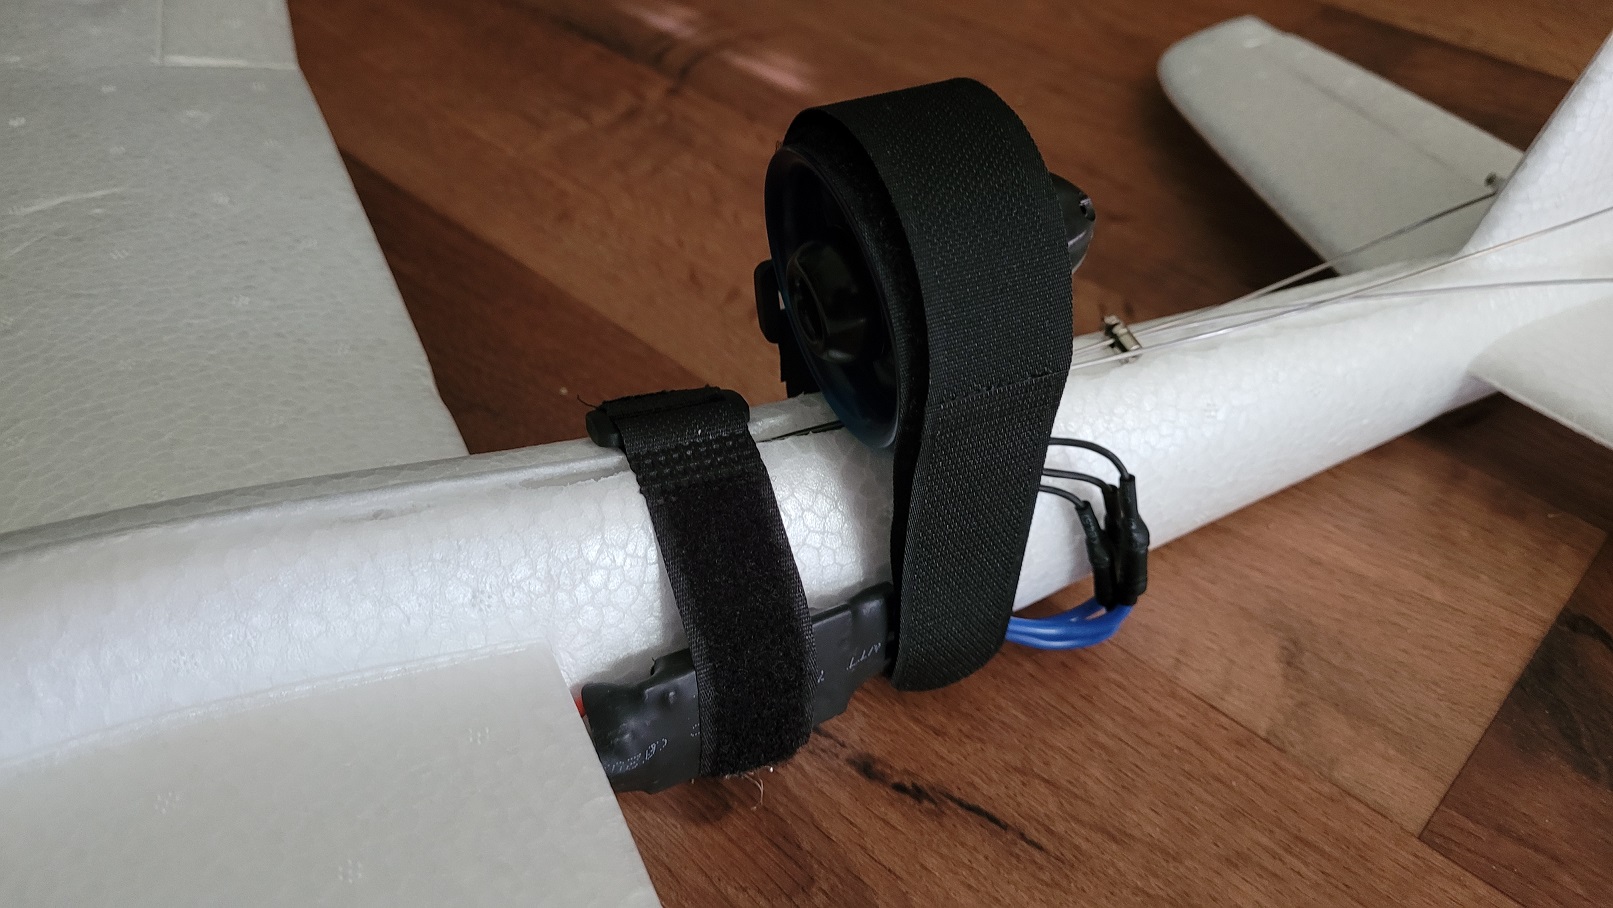
I had initially thought of using a 1300mah battery since I thought something bigger would be needed for the EDF, but the whole plane just felt too heavy that way, and so opted for a 850mah one instead. For the maiden flight, I used the temporary velcro straps for the ESC and battery, but after the propeller mishap, I just glued the motor in place since the CG could still be changed moving the battery/ESC if necessary. The EDF is mounted using a couple of ring mounts I whipped up in Blender quickly then 3D printed. The rear mount has more height to have the motor pointing slightly downwards, to keep the thrust angle towards the CG and keep it from trying to pitch forward during thrust.
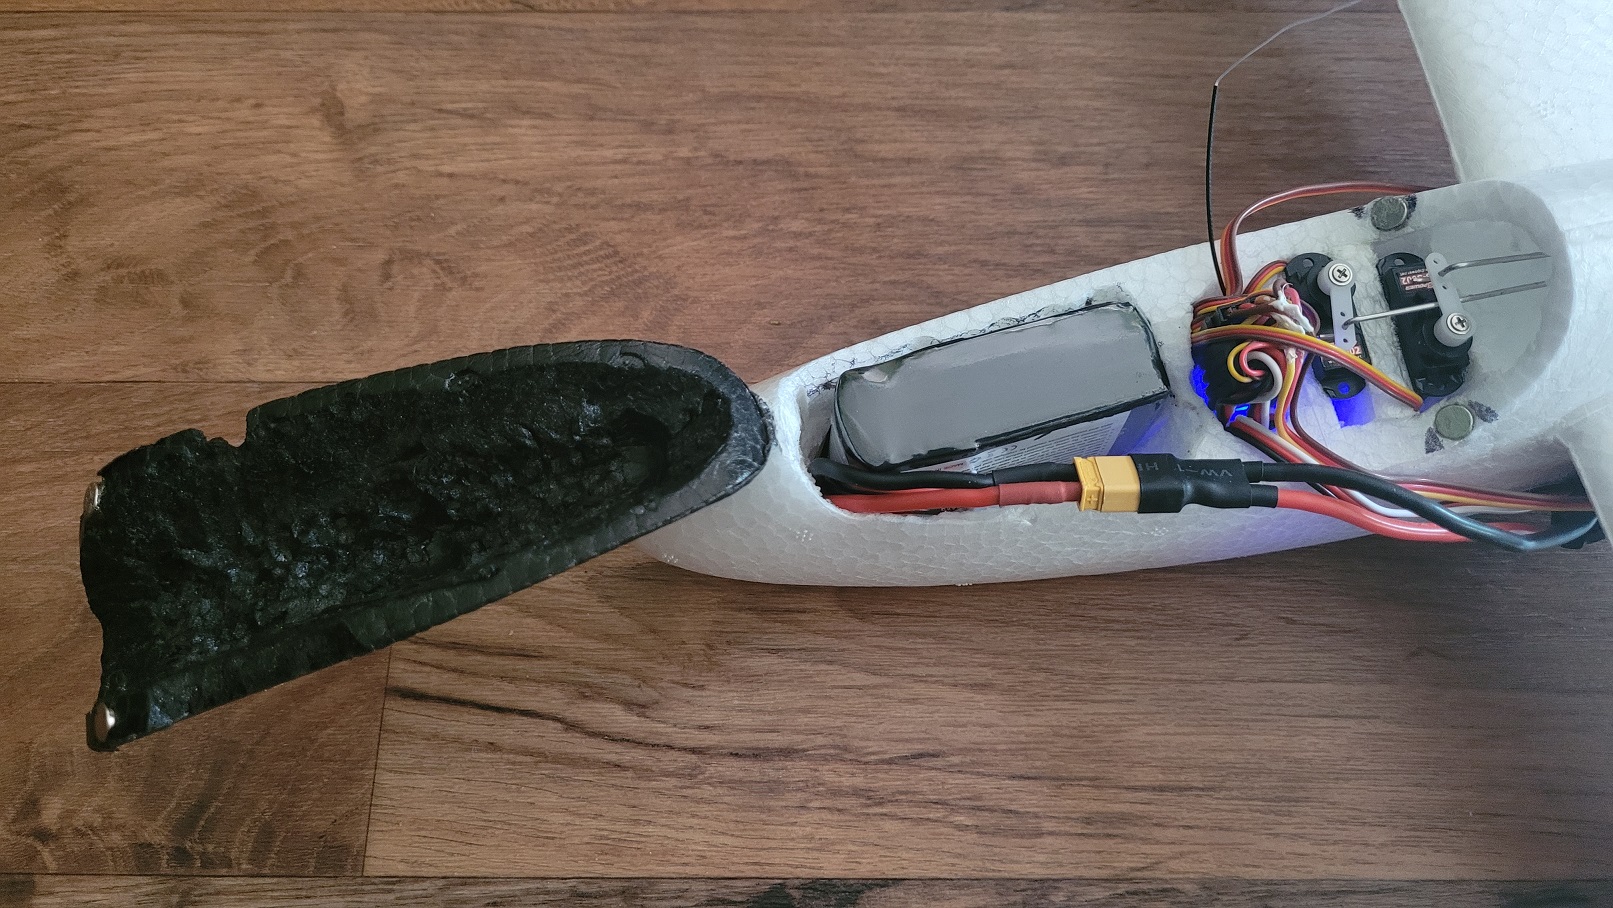
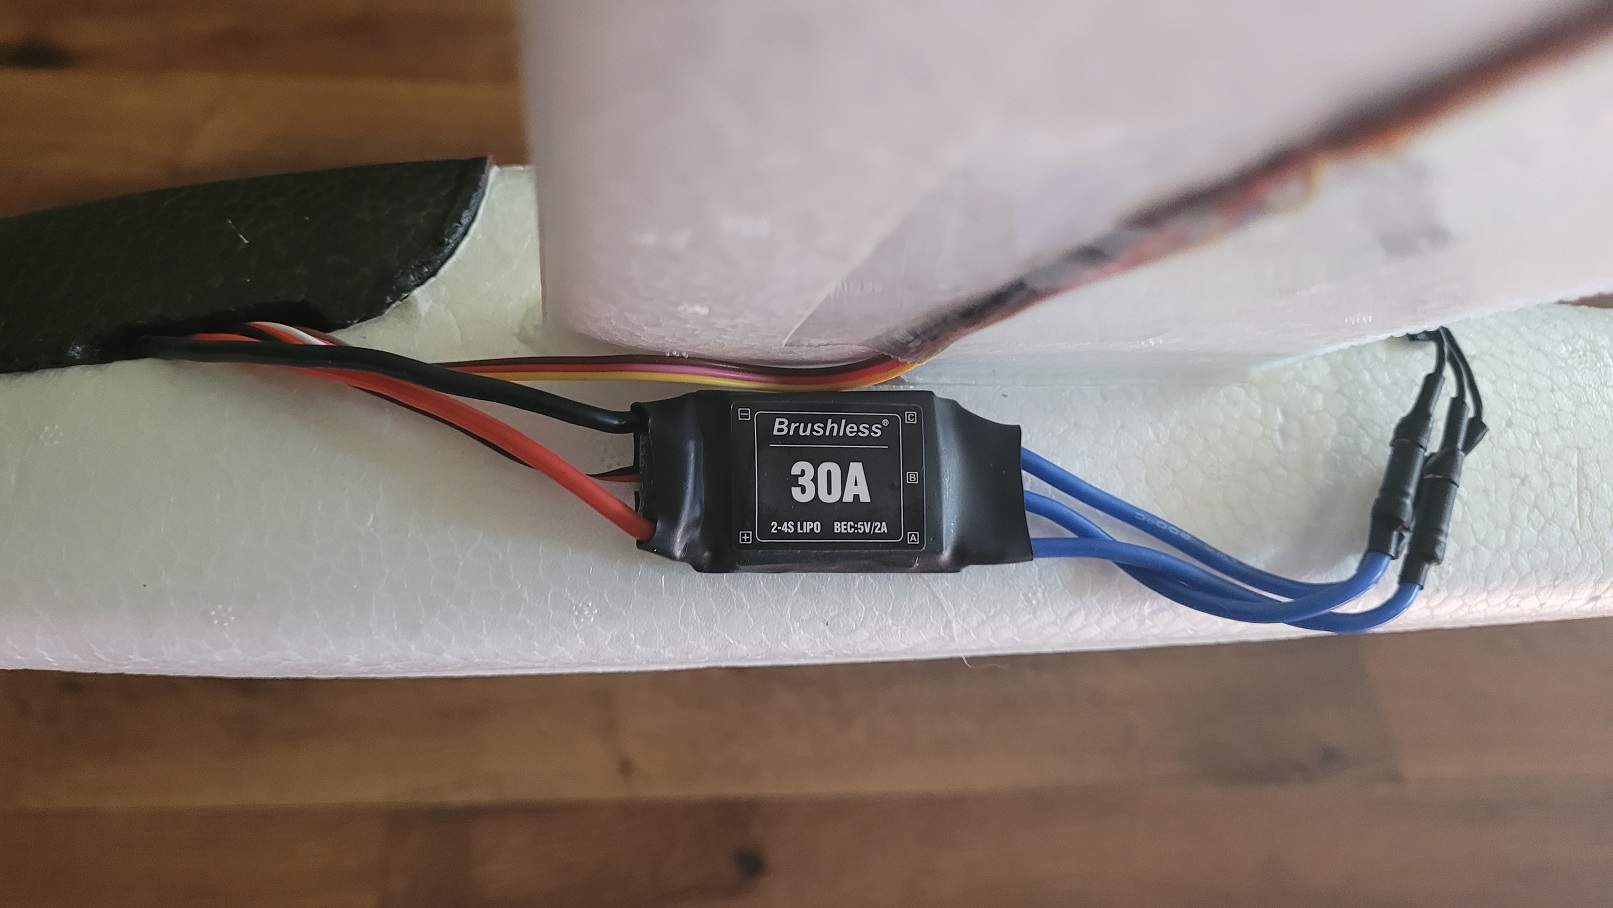
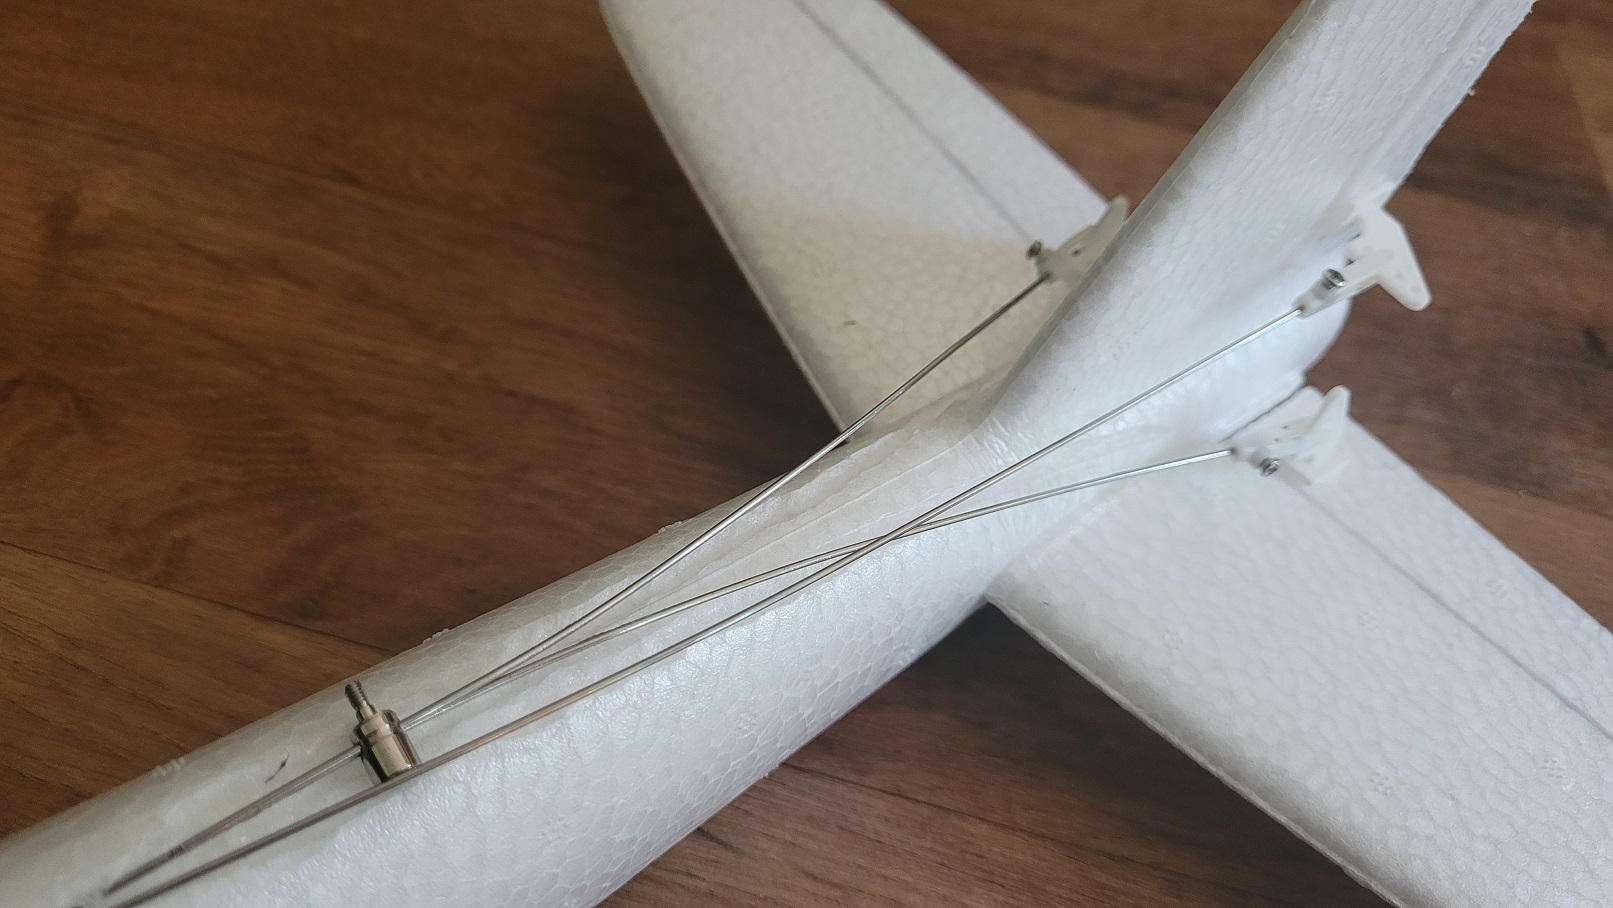
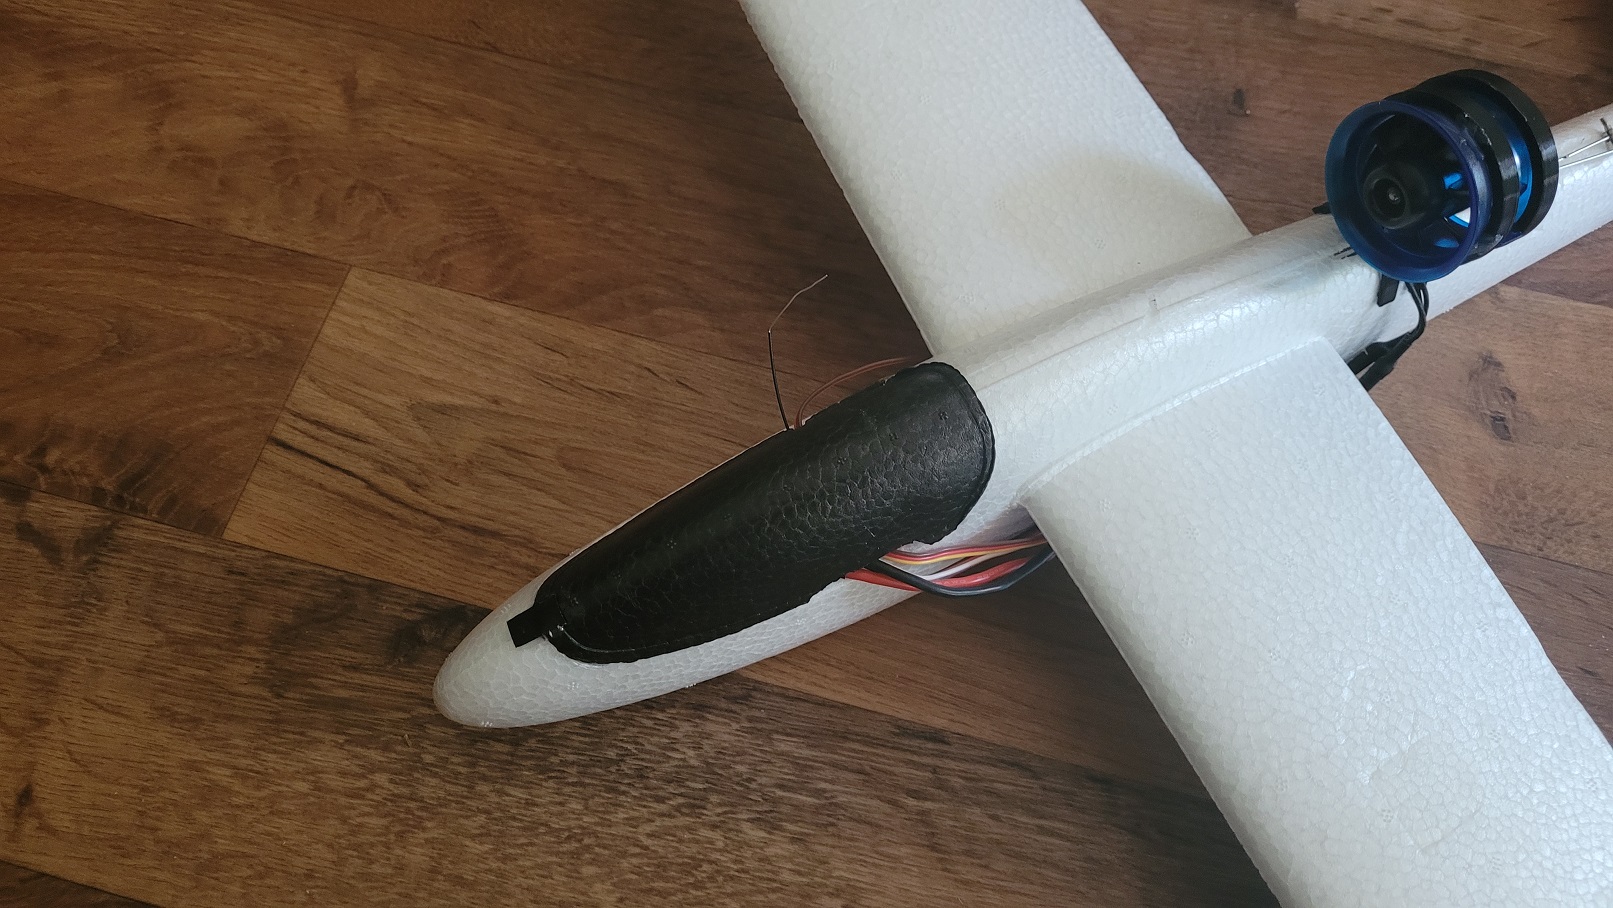
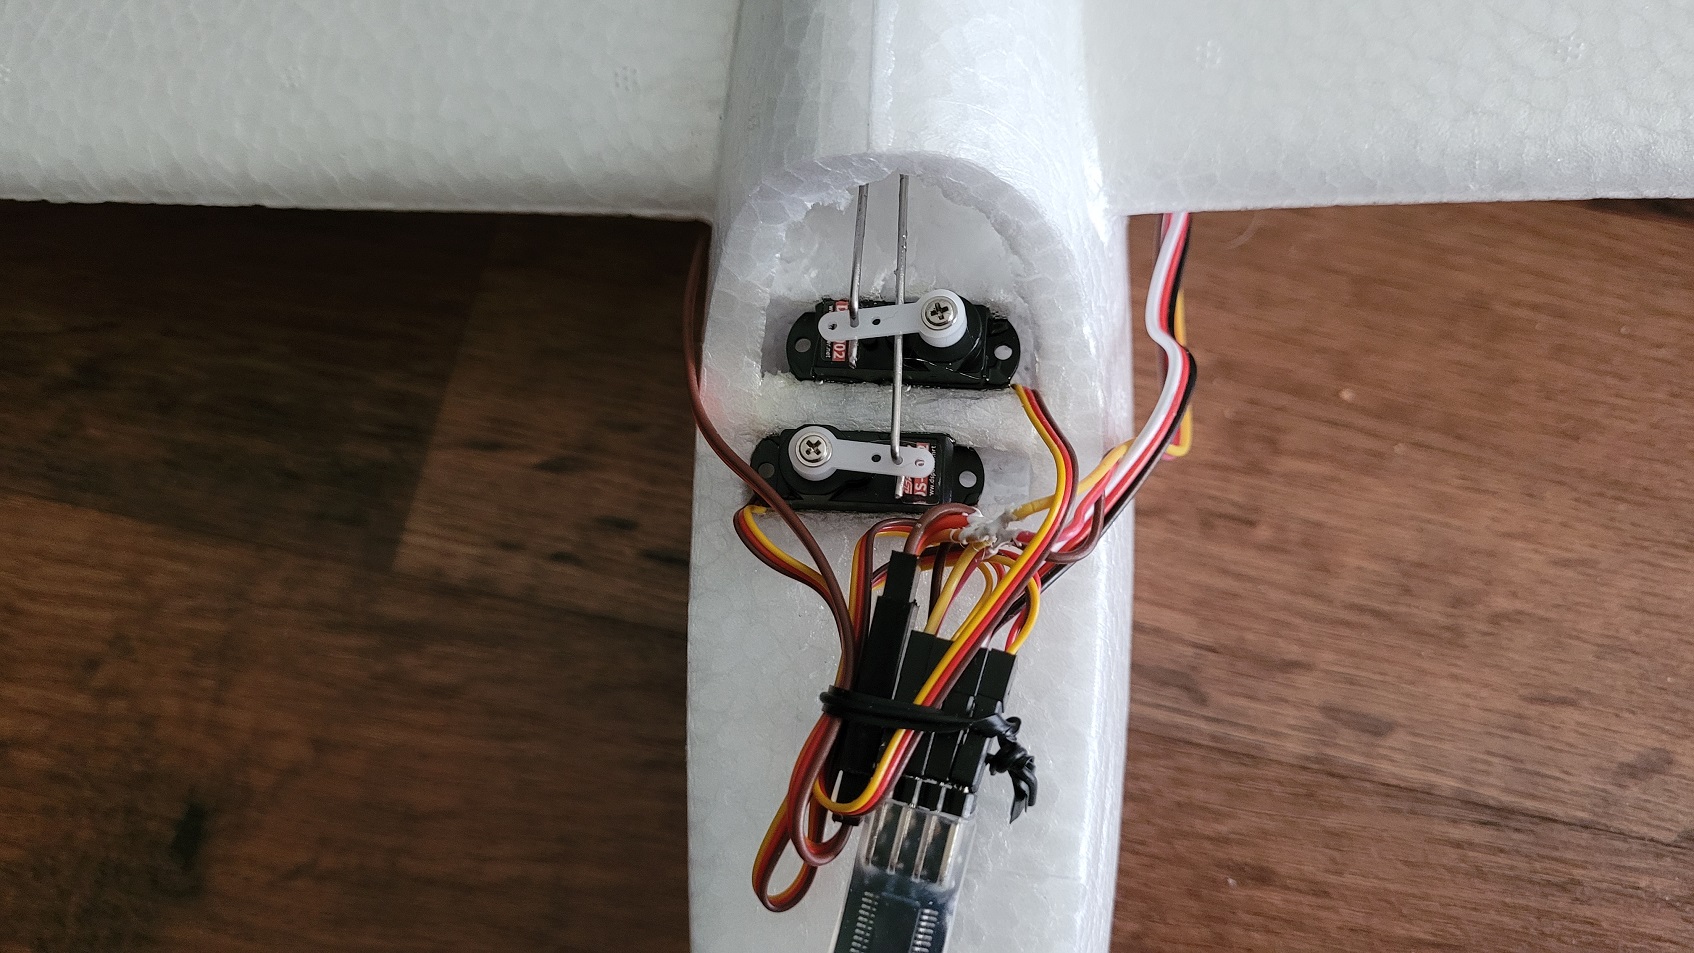
 After the maiden flight, I hollowed out an area for the battery to sit snuggly without the need for any fasteners. There was no need to be able to reposition the battery CG-wise since I already determined where it should be with the straps for the maiden flight. Of course, that may change if I ever get replacement batteries and they aren't the same weight/size. Hollowed out the top canopy as well, then attached the front with a piece of TPU as a hinge (printed out flat sheets of TPU work great as hinges), and then melted cavities for a few magnets to hold the back half of the canopy in place.
 Decided to open up the throttle on the second flight. This thing goes pretty fast. Apologies for the coughing towards the end, a crowd of diseased children started to gather behind me as I was flying.
Parts List
- Cheetah Foam Hand Glider
- 40mm EDF Motor - 6500-8600 Kv
- ESC 30 amp
- 850 mah 3s Lipo Battery
- FS2A Mini Receiver
- 3mm carbon rod, around 52cm length
- 4.3g servos x4